I won't lie, I took the photos for this tutorial back when it was actually summer and people may have felt more like making lots of friendship bracelets, but apparently I didn't get around to actually putting them into a post for some reason. At any rate, I hadn't made friendship bracelets for a long time, but signed up for
a friendship bracelet swap and decided to document the process while I made the bracelet for my overseas friend!
Anyways, at the time I made the tutorials, I had been thinking a lot about summers as a kid and all the fun crafts I used to do at summer camp and at home with my mom and figured that a series of tutorials on these kinds of crafts would be an excellent way to reclaim my youth a bit, and have a bit of fun with some of these kinds of crafts.
So today's craft is friendship bracelets! I figured I'd start with the chevron kind, since those seem to be making a bit of a resurgence of late in fashion, plus a friend of mine at work requested a tutorial so that she can make some with her kids:)
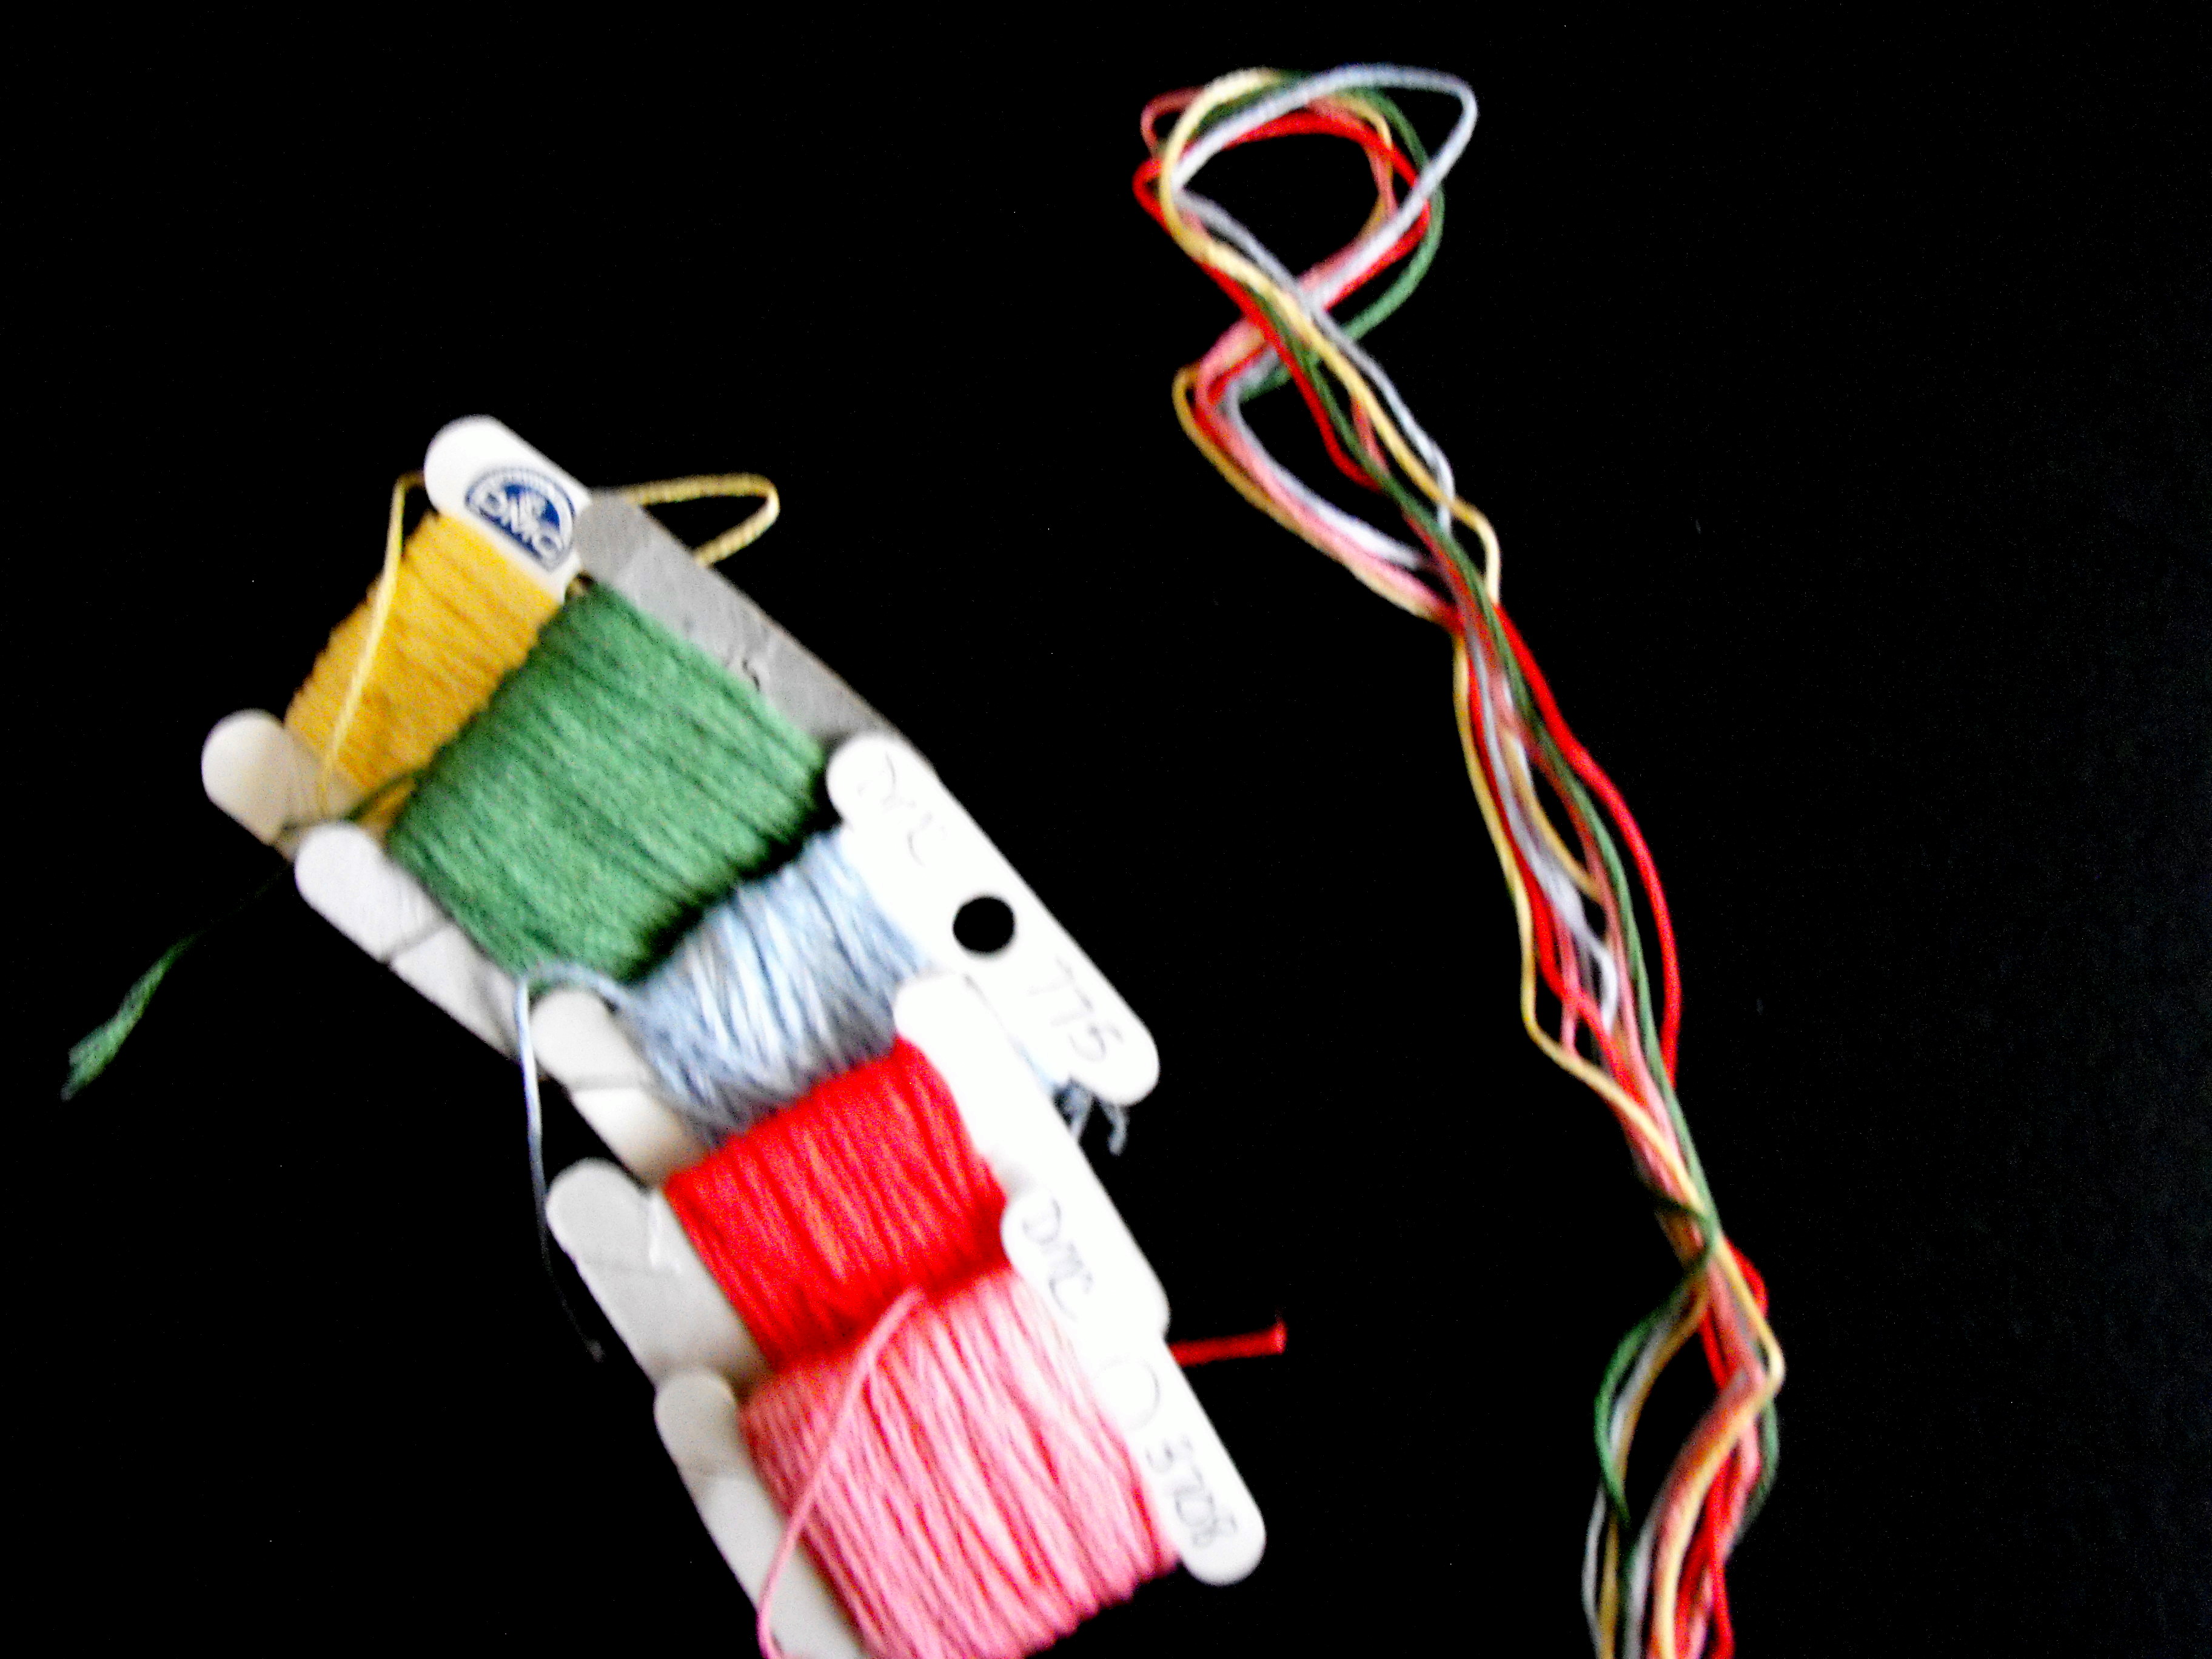
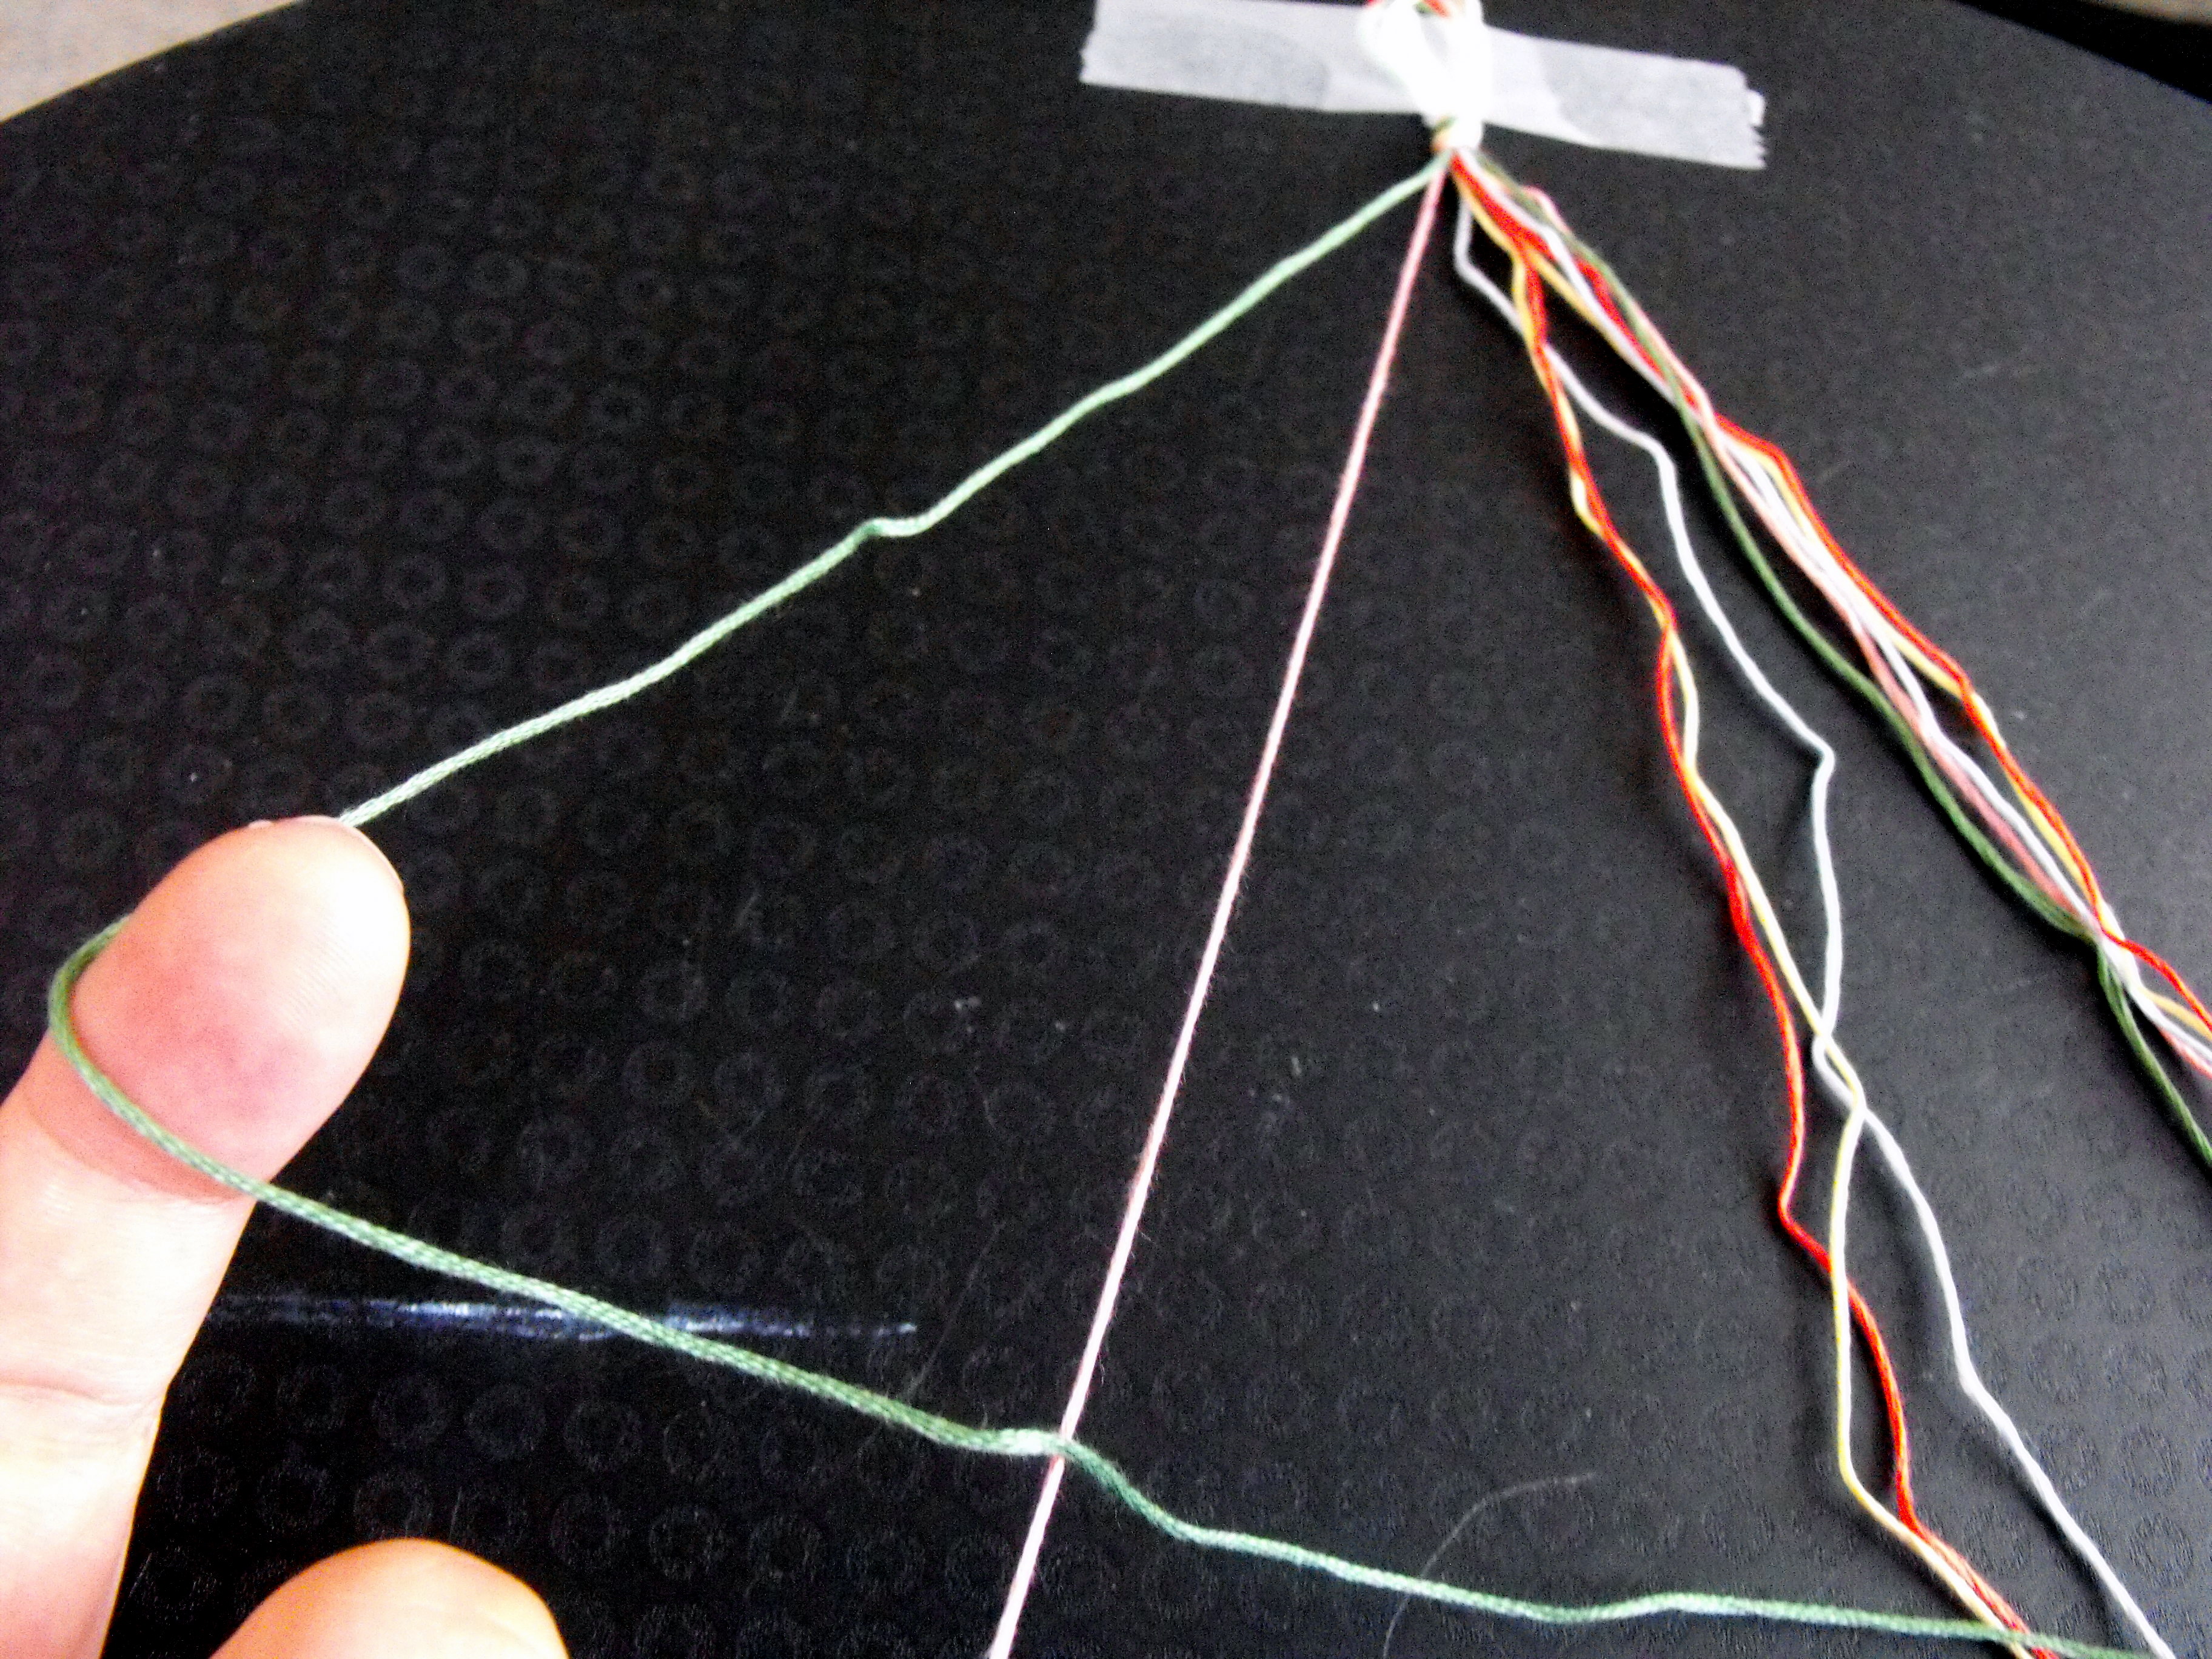
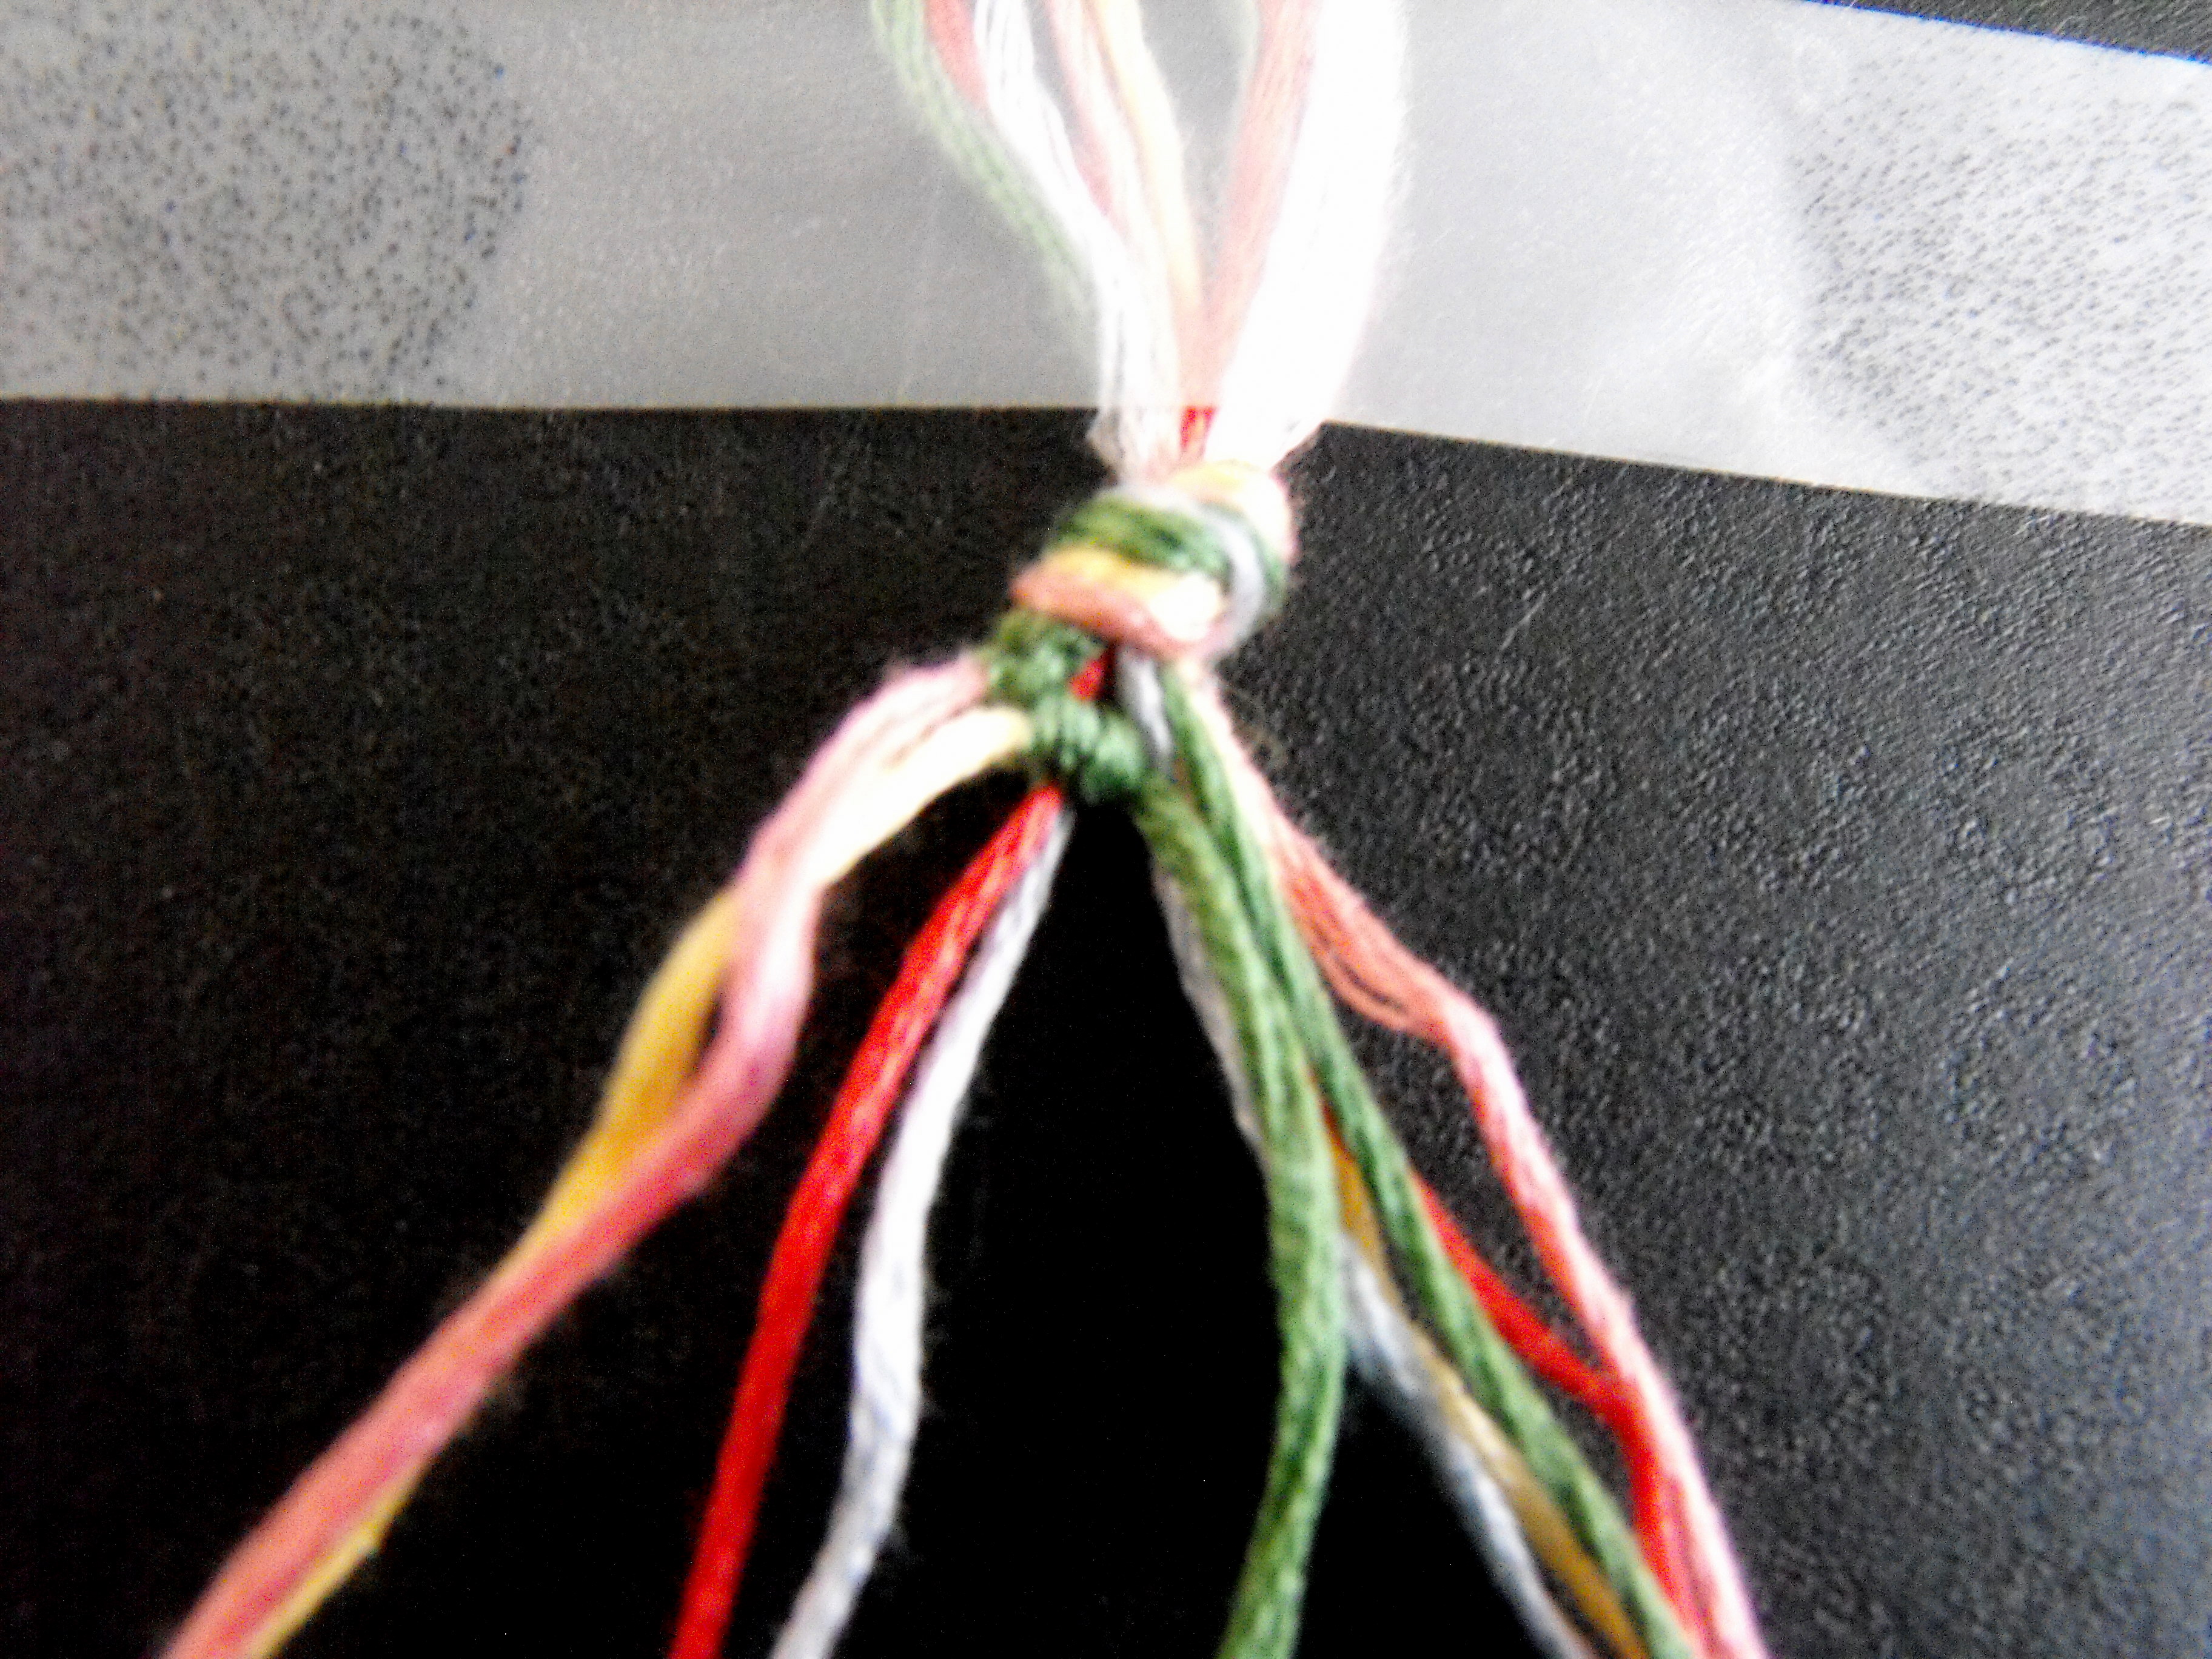
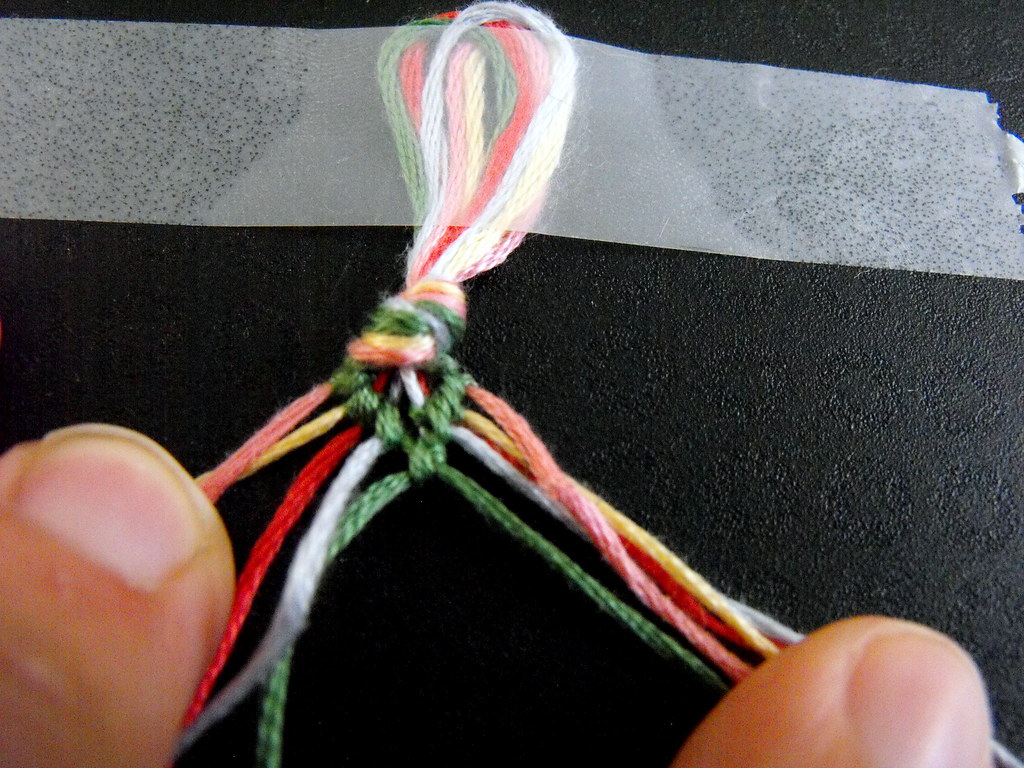
First, pick your colours. I like to use 5 colours, and for this bracelet, I measured 64 inches of each of the 5 colours
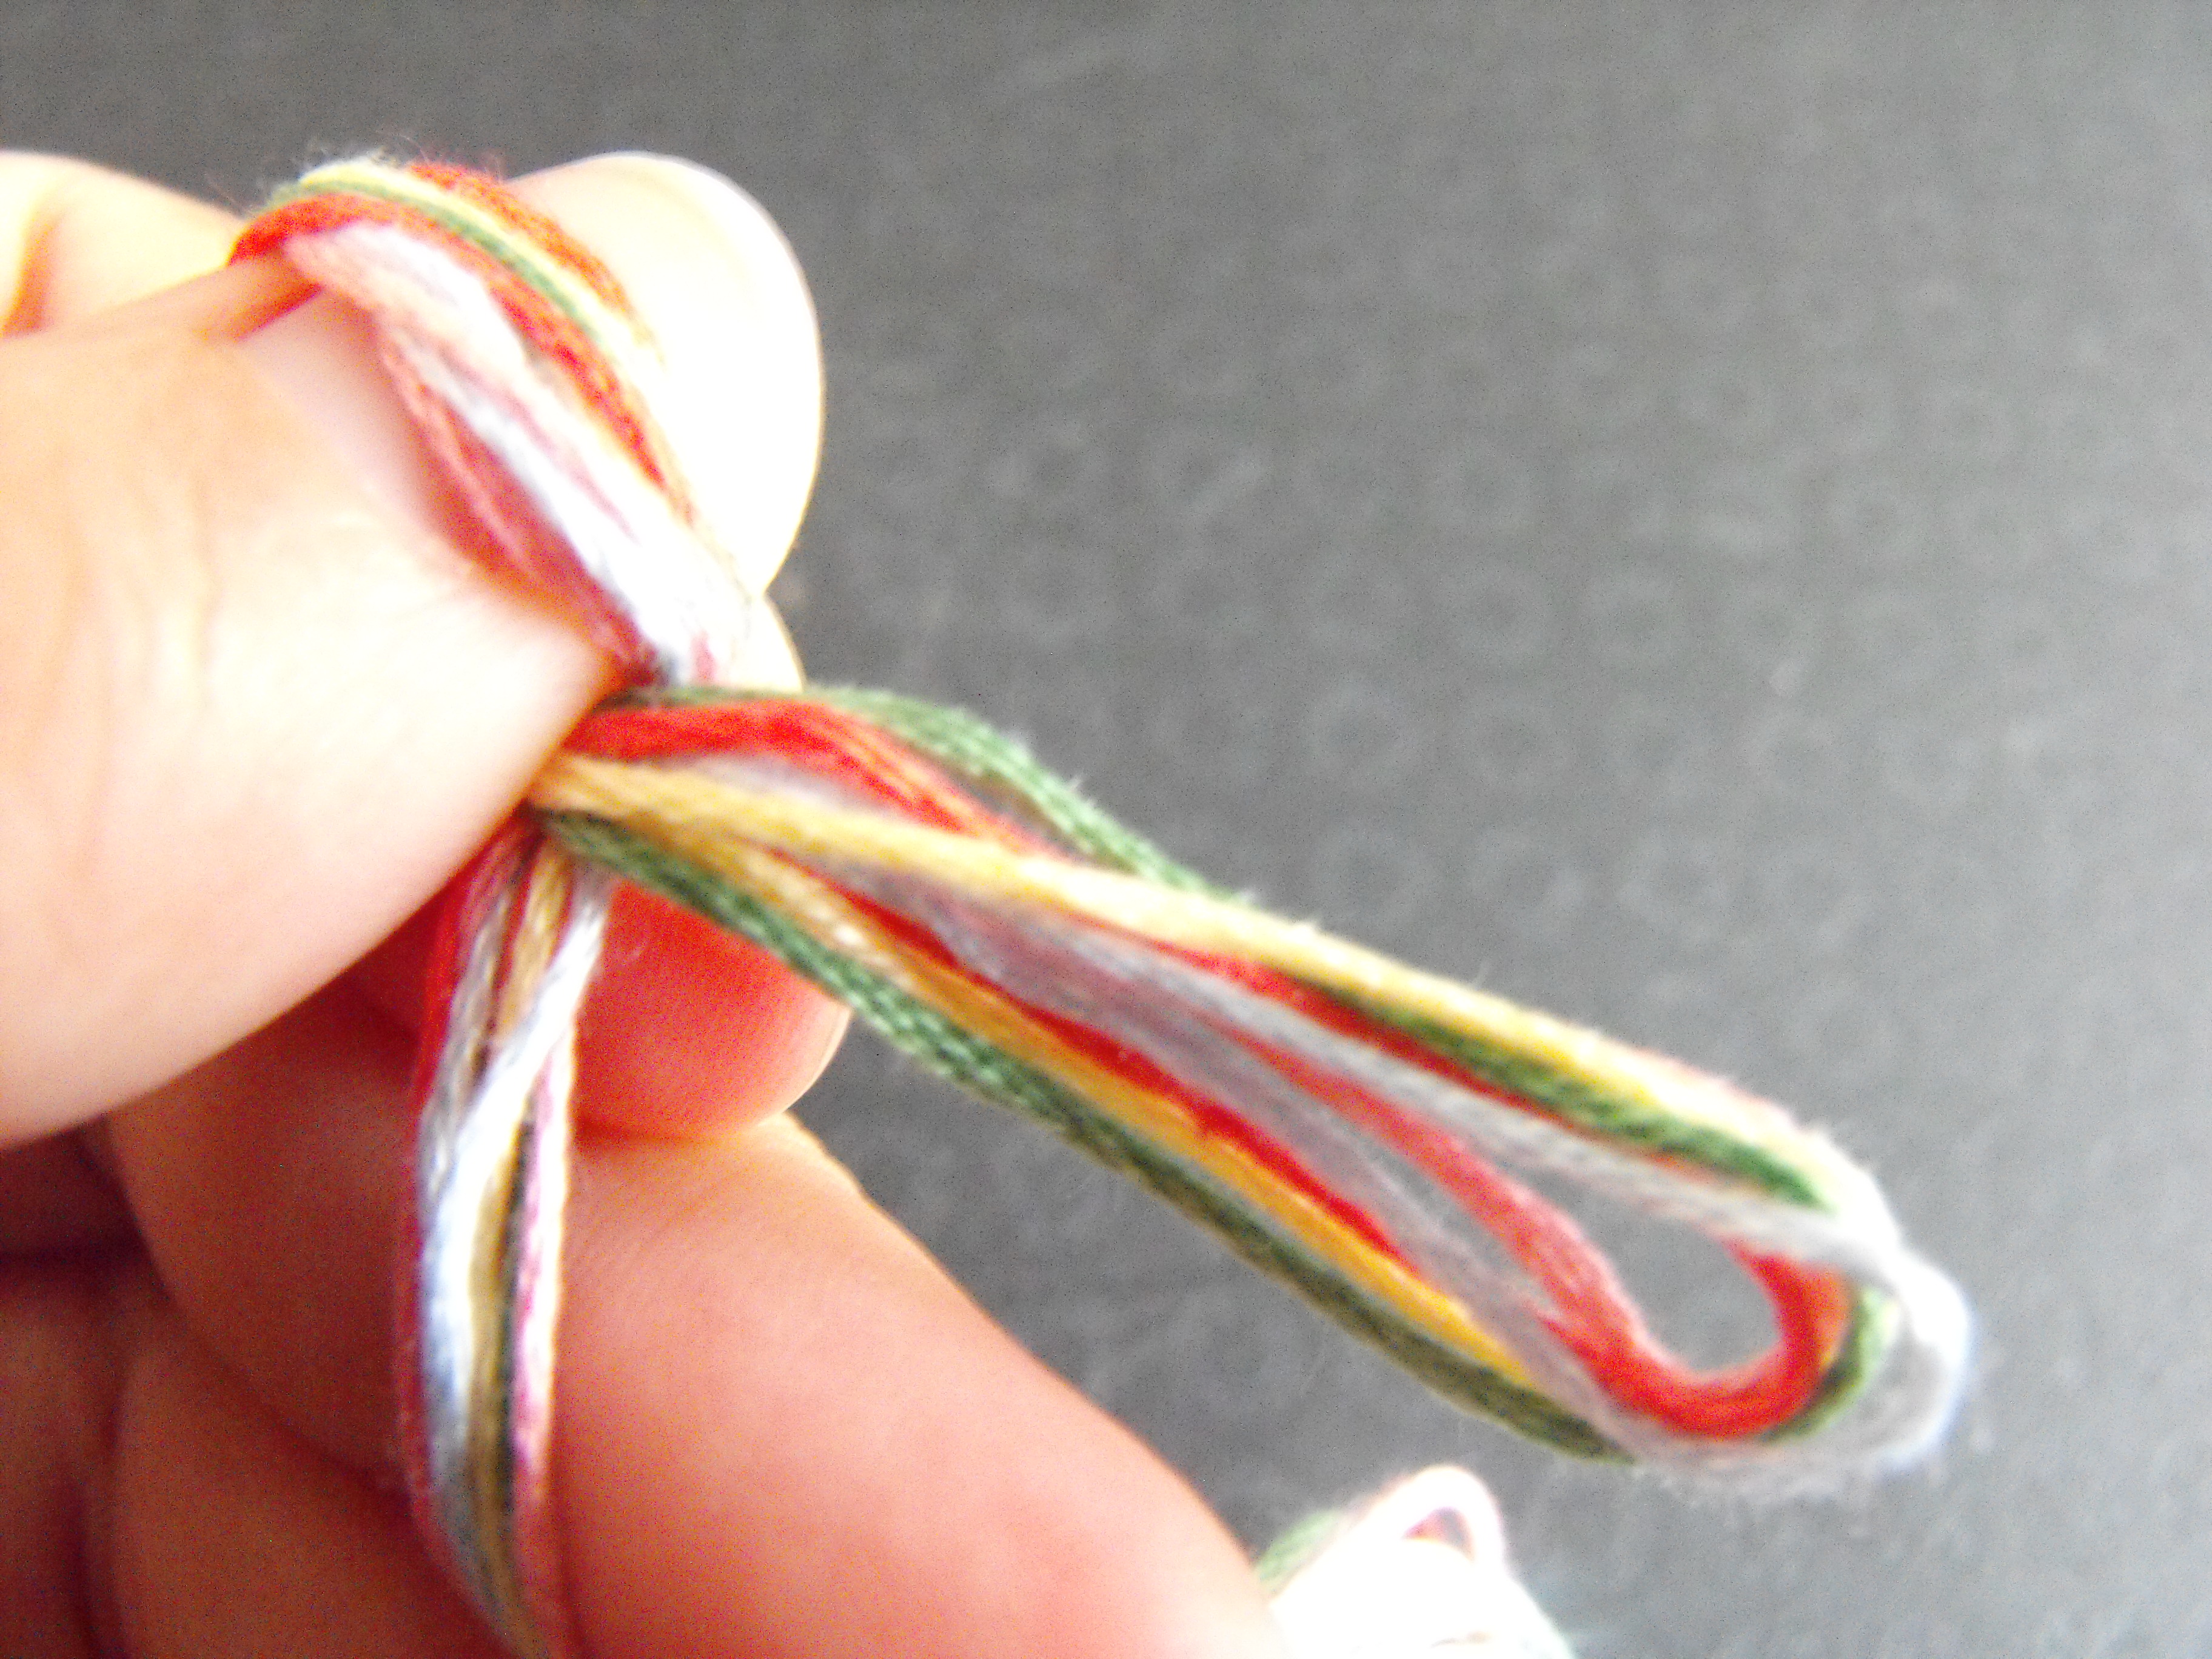
Fold your threads in half and make a loop, then a knot

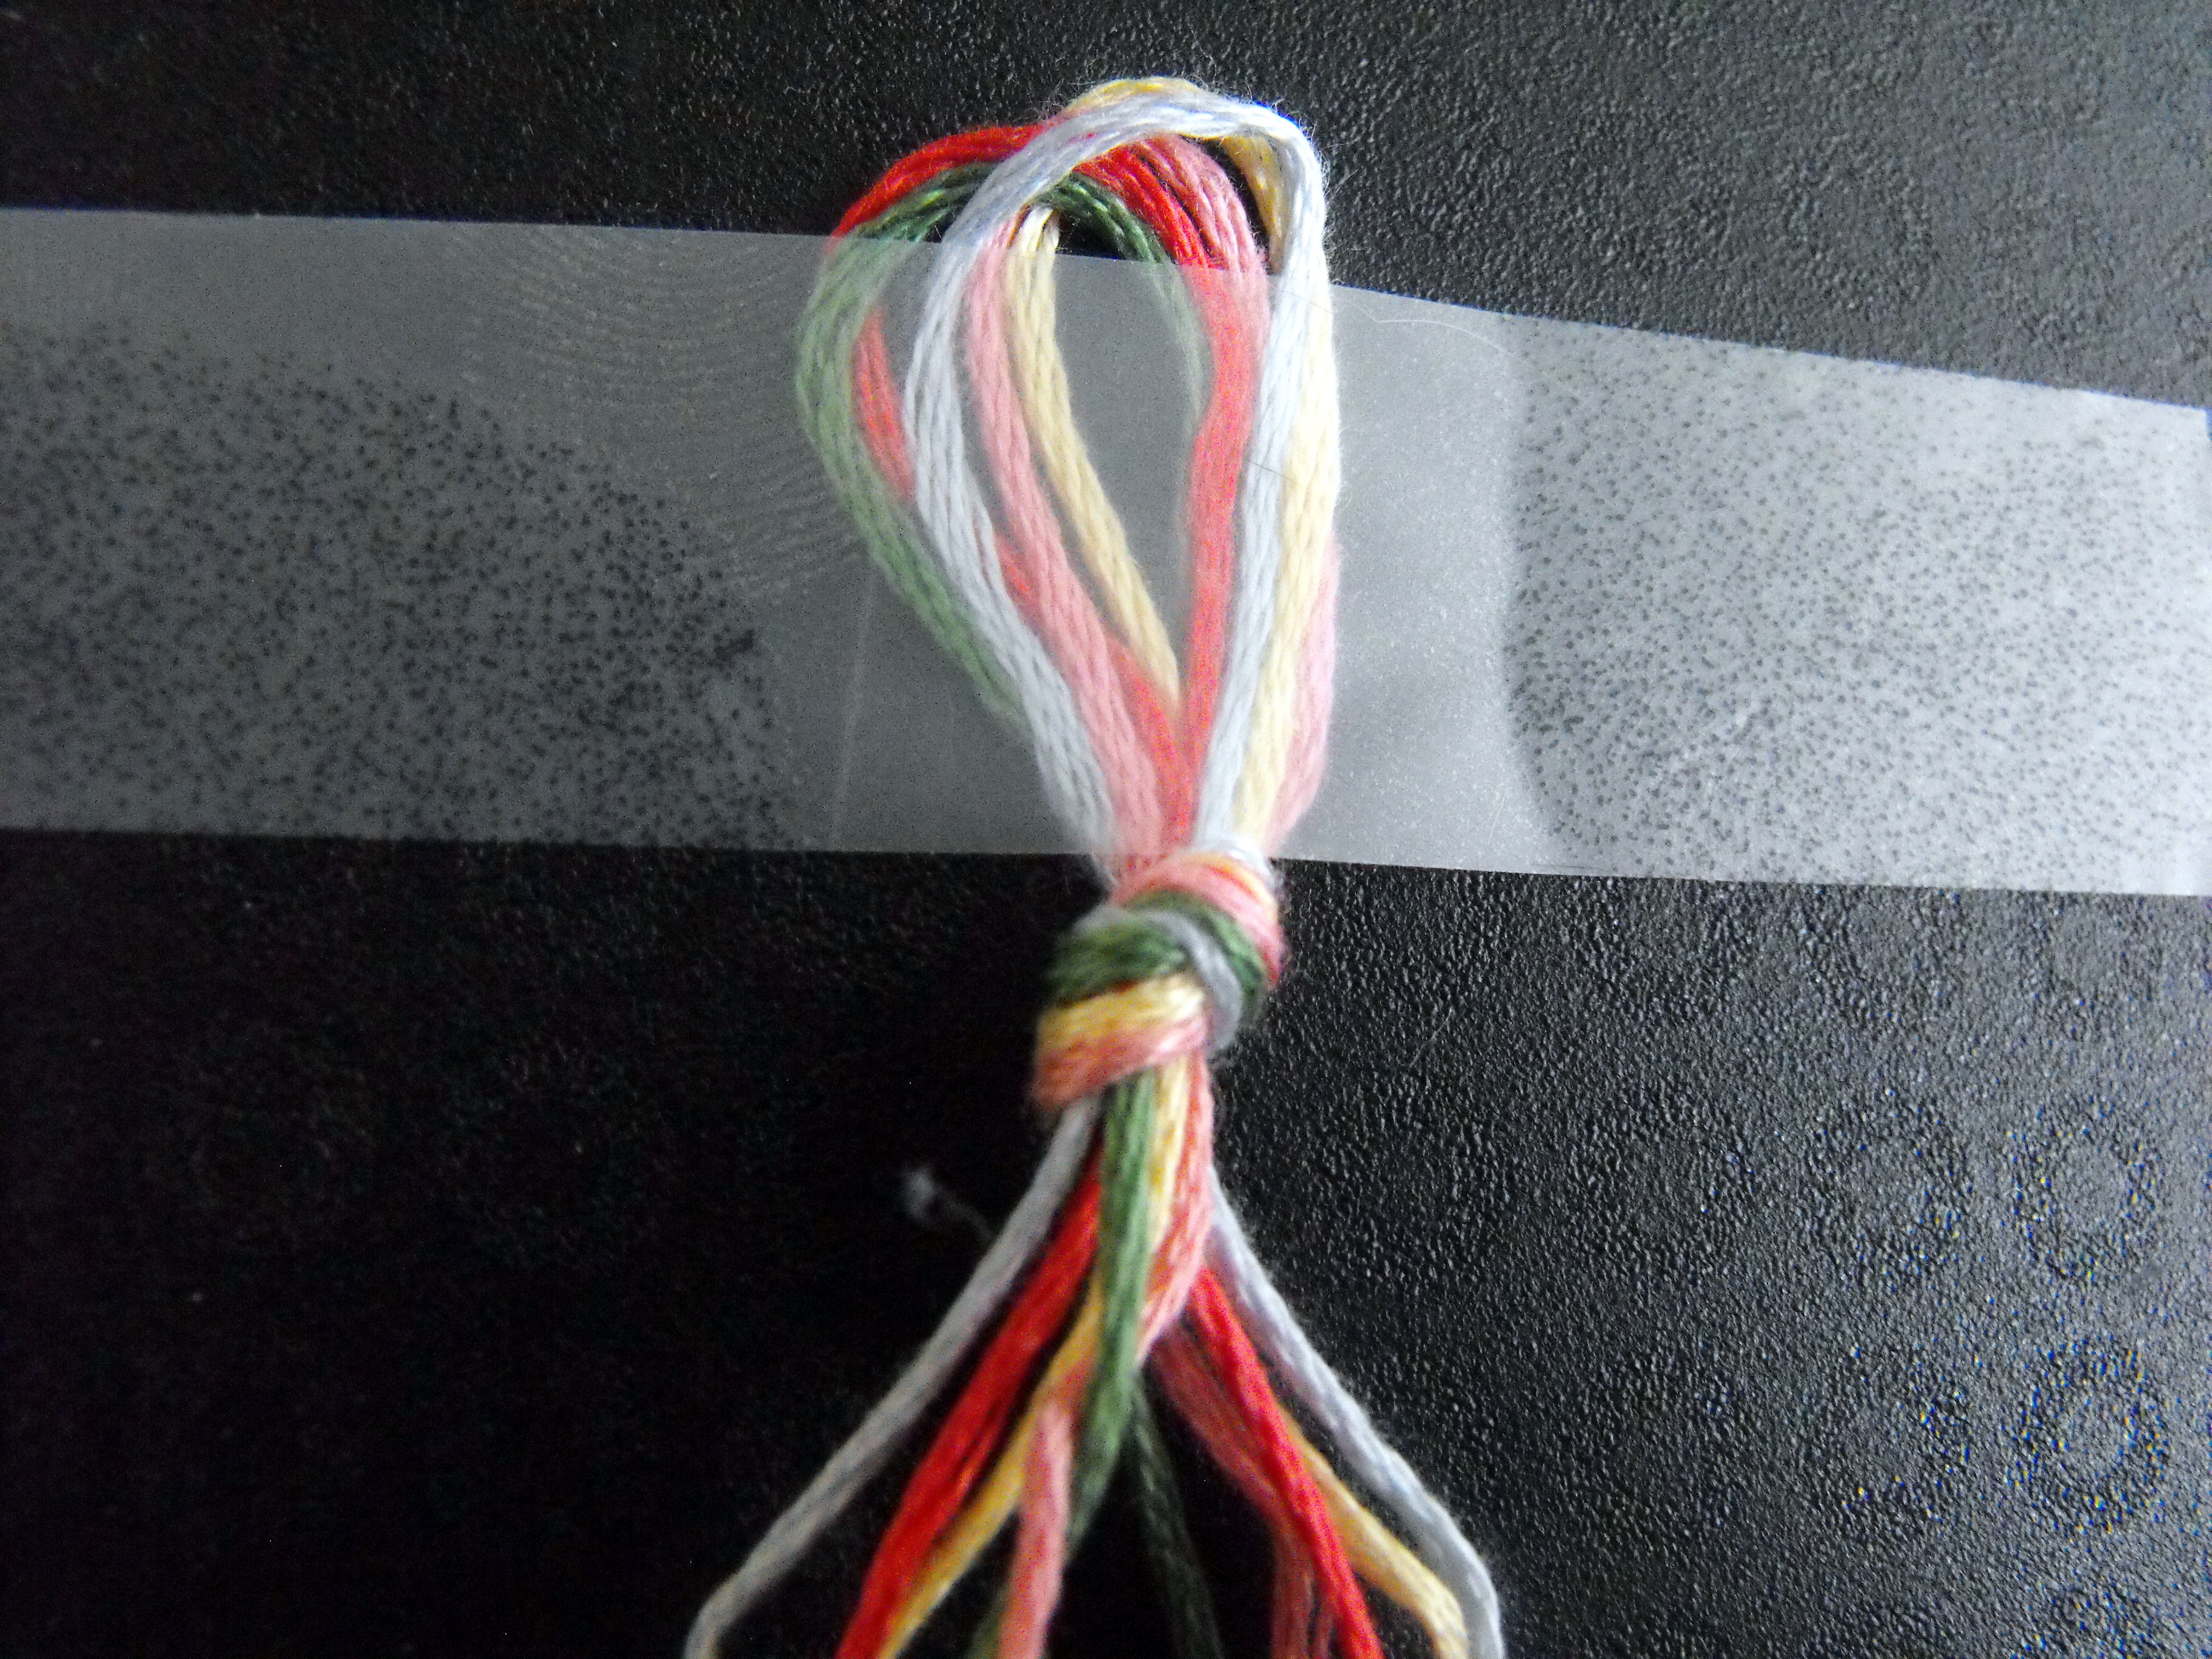
You can secure the bracelet to a flat surface with tape or use a safety pin and a pillow/leg of your jeans/anything--here I used a laptop desk and a piece of tape.
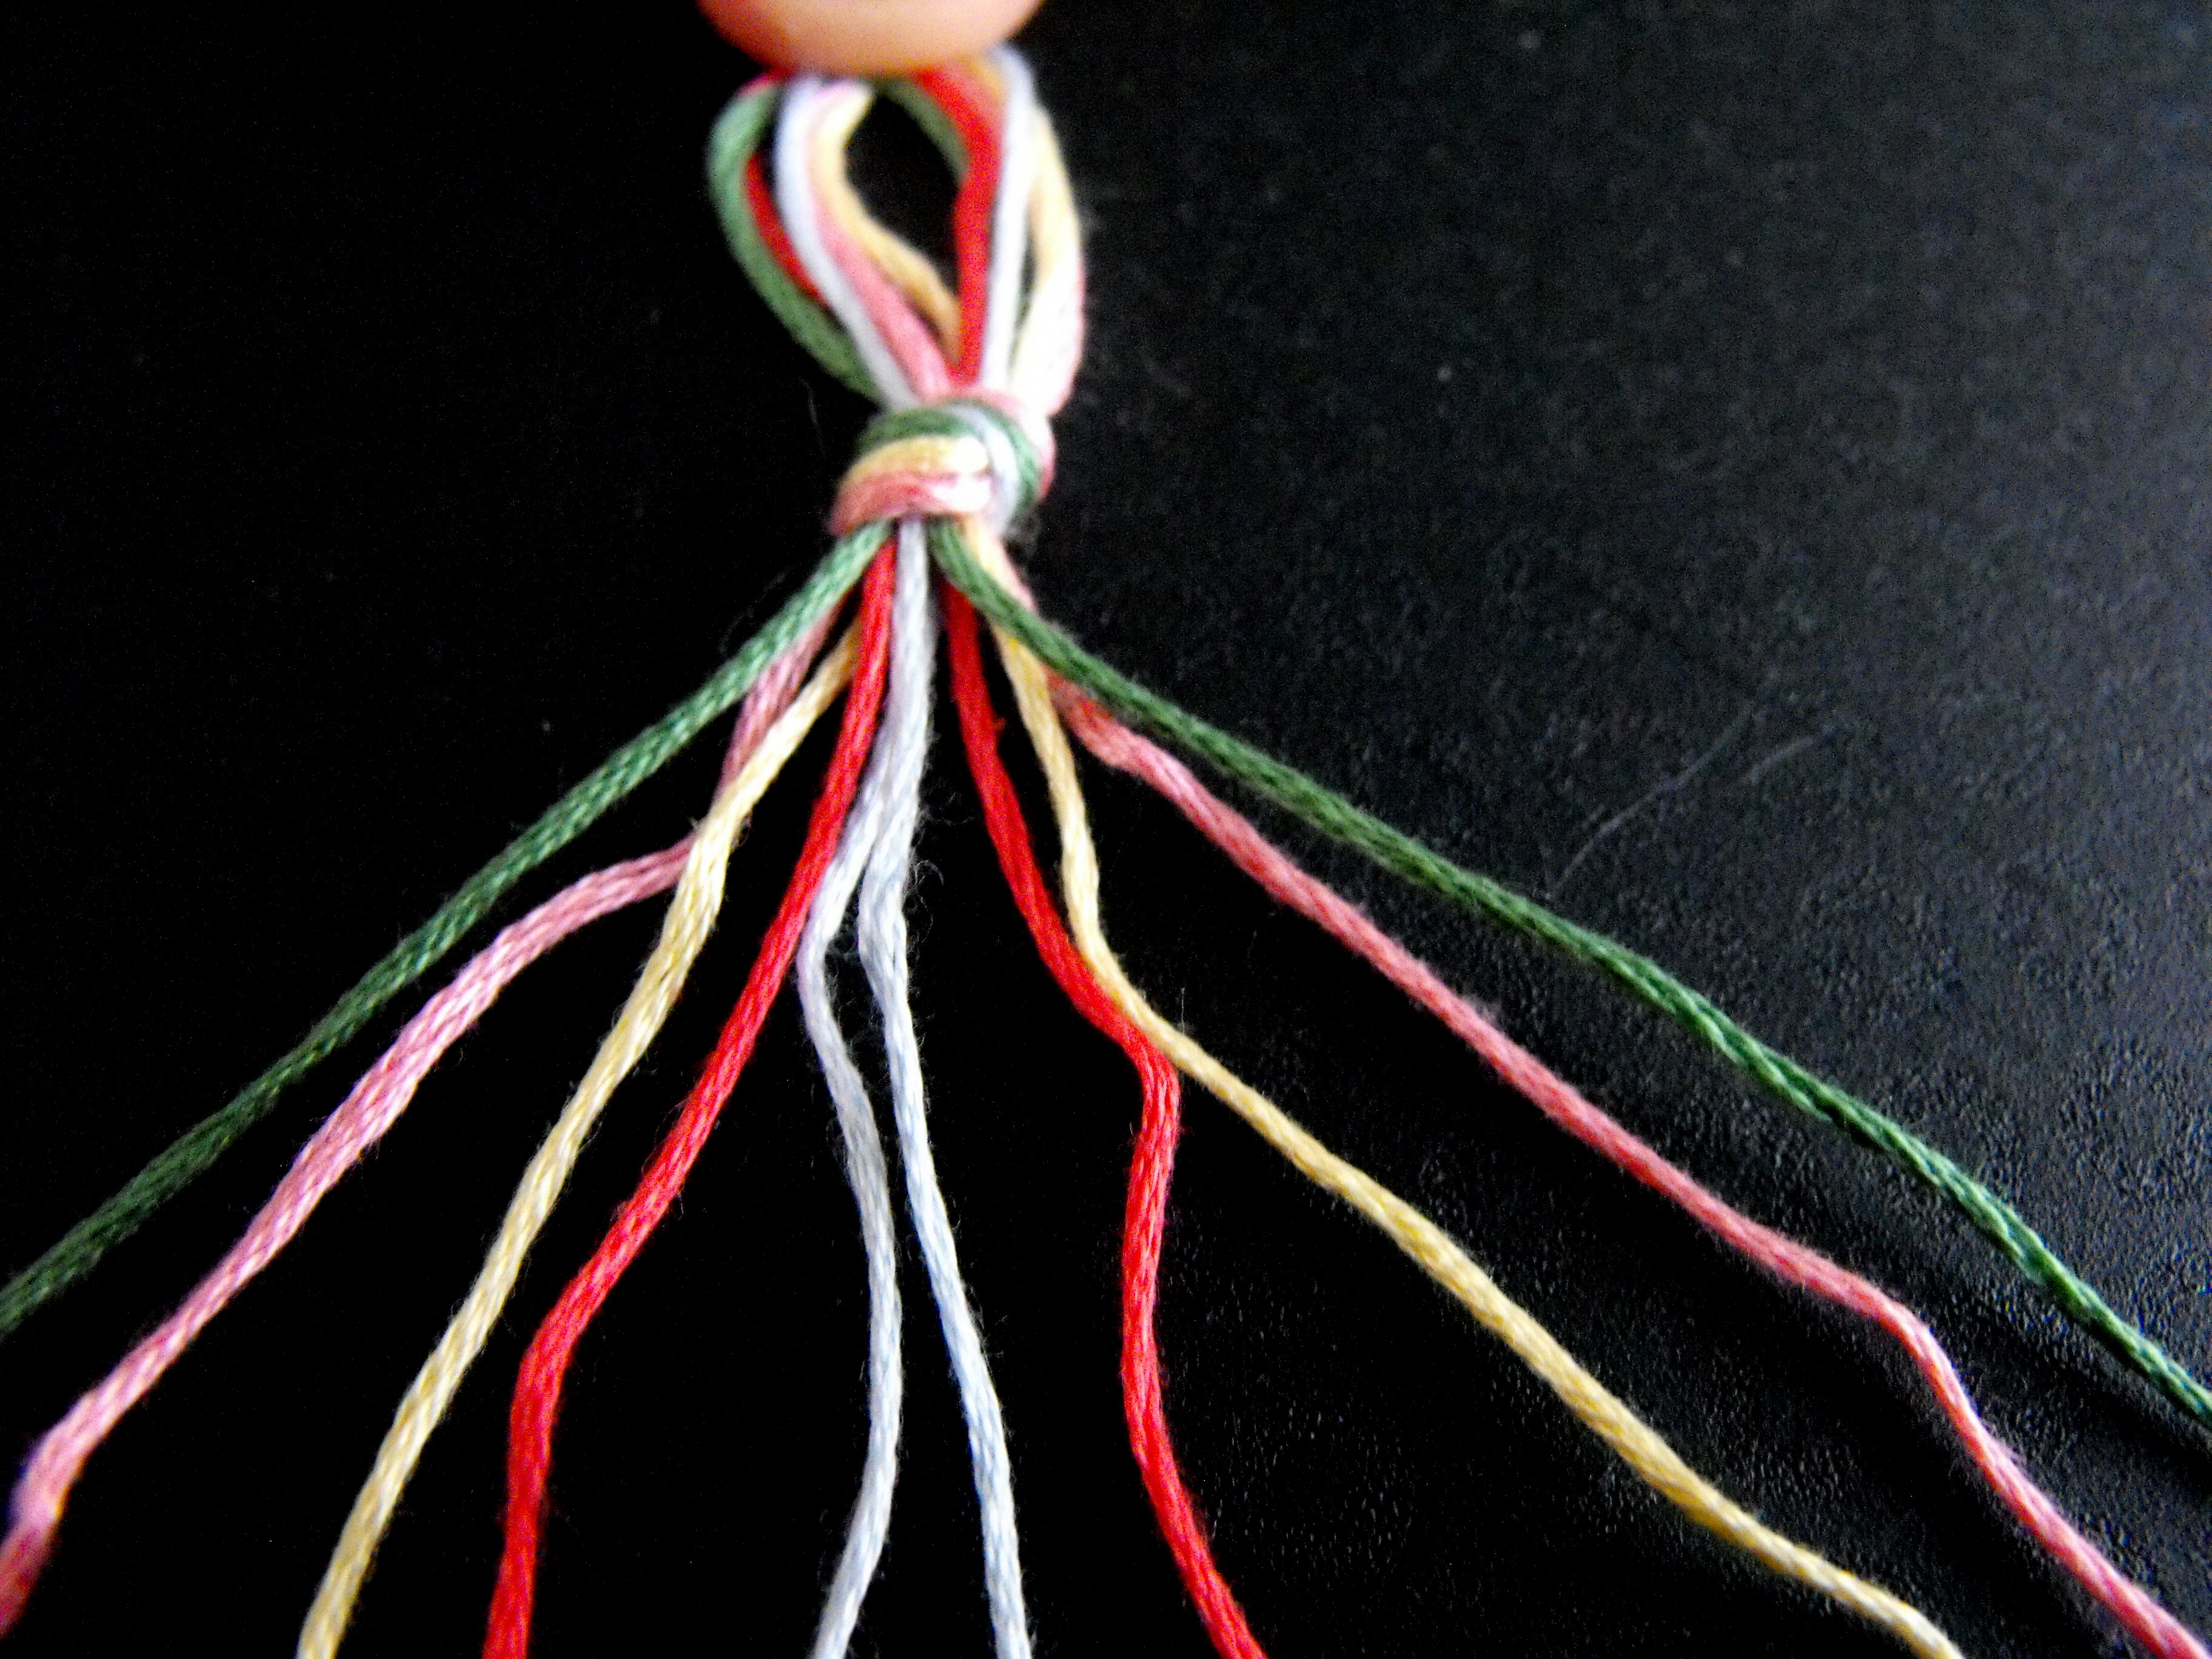
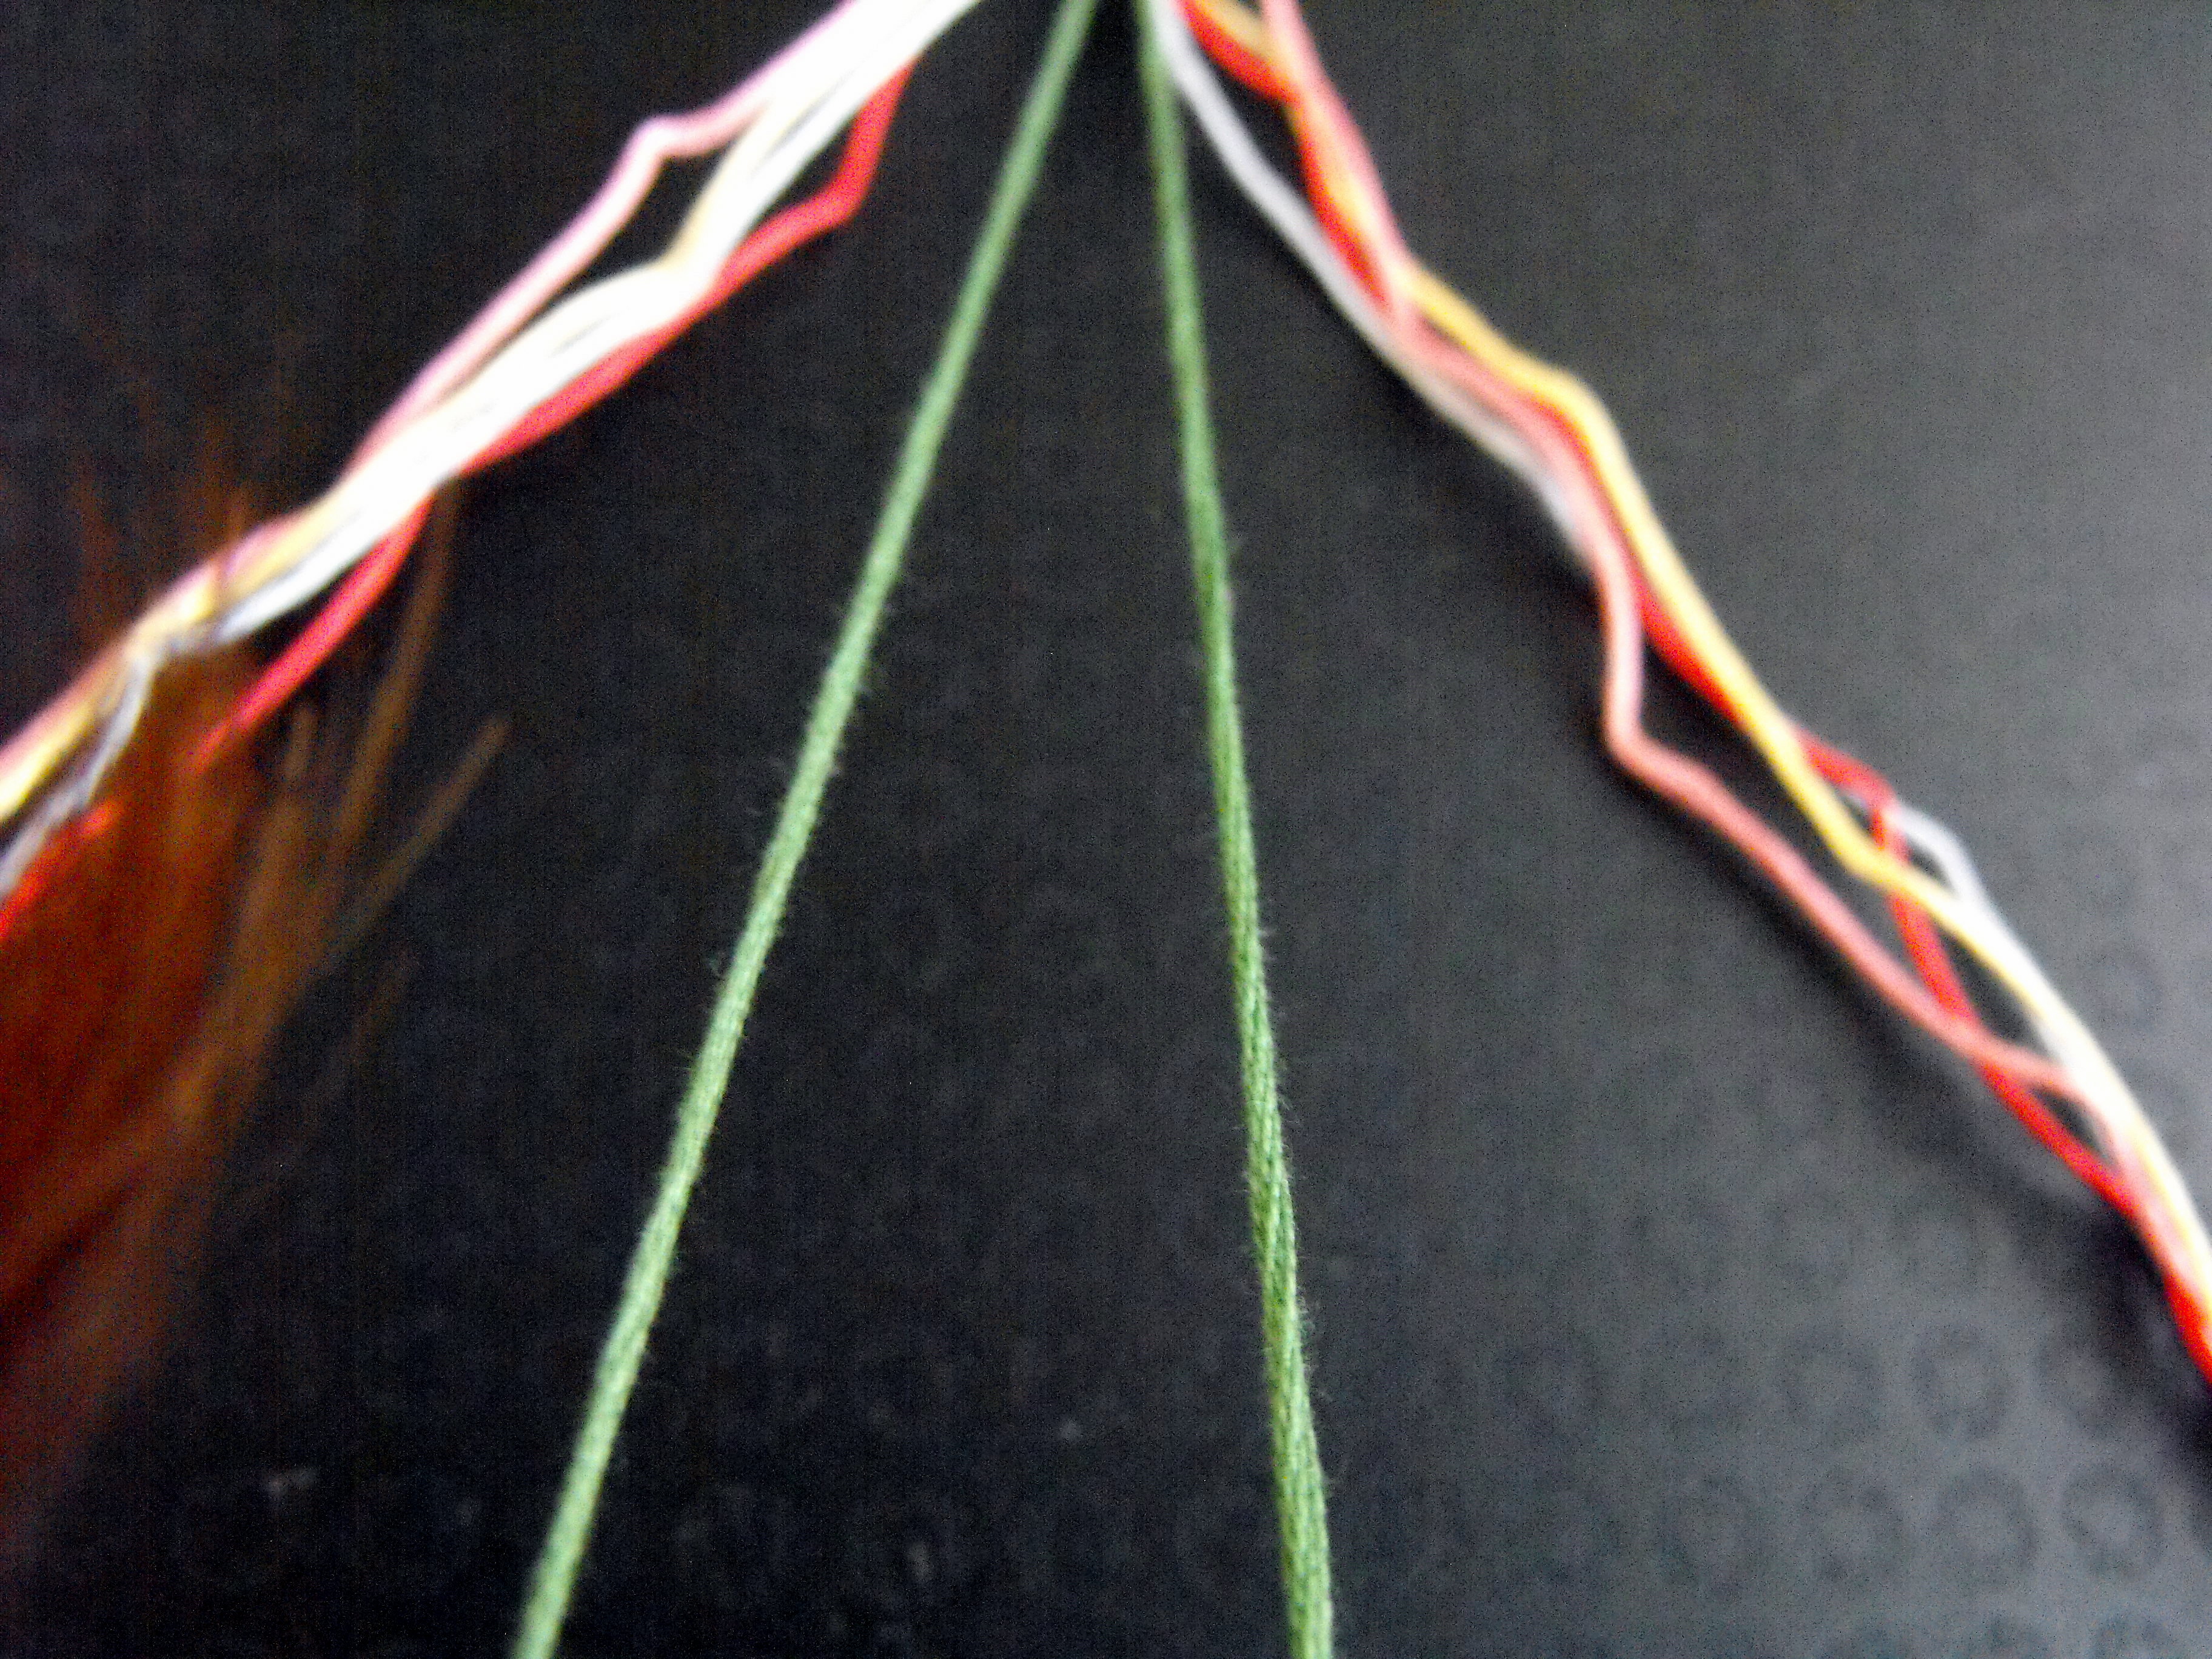
Start by arranging your threads --this is important to get the striping right. You'll end up with something that looks like this: (basically threads in my example go green, pink, yellow, dark pink, light blue, light blue, dark pink, yellow, pink, green)
 Making the first half of a chevron
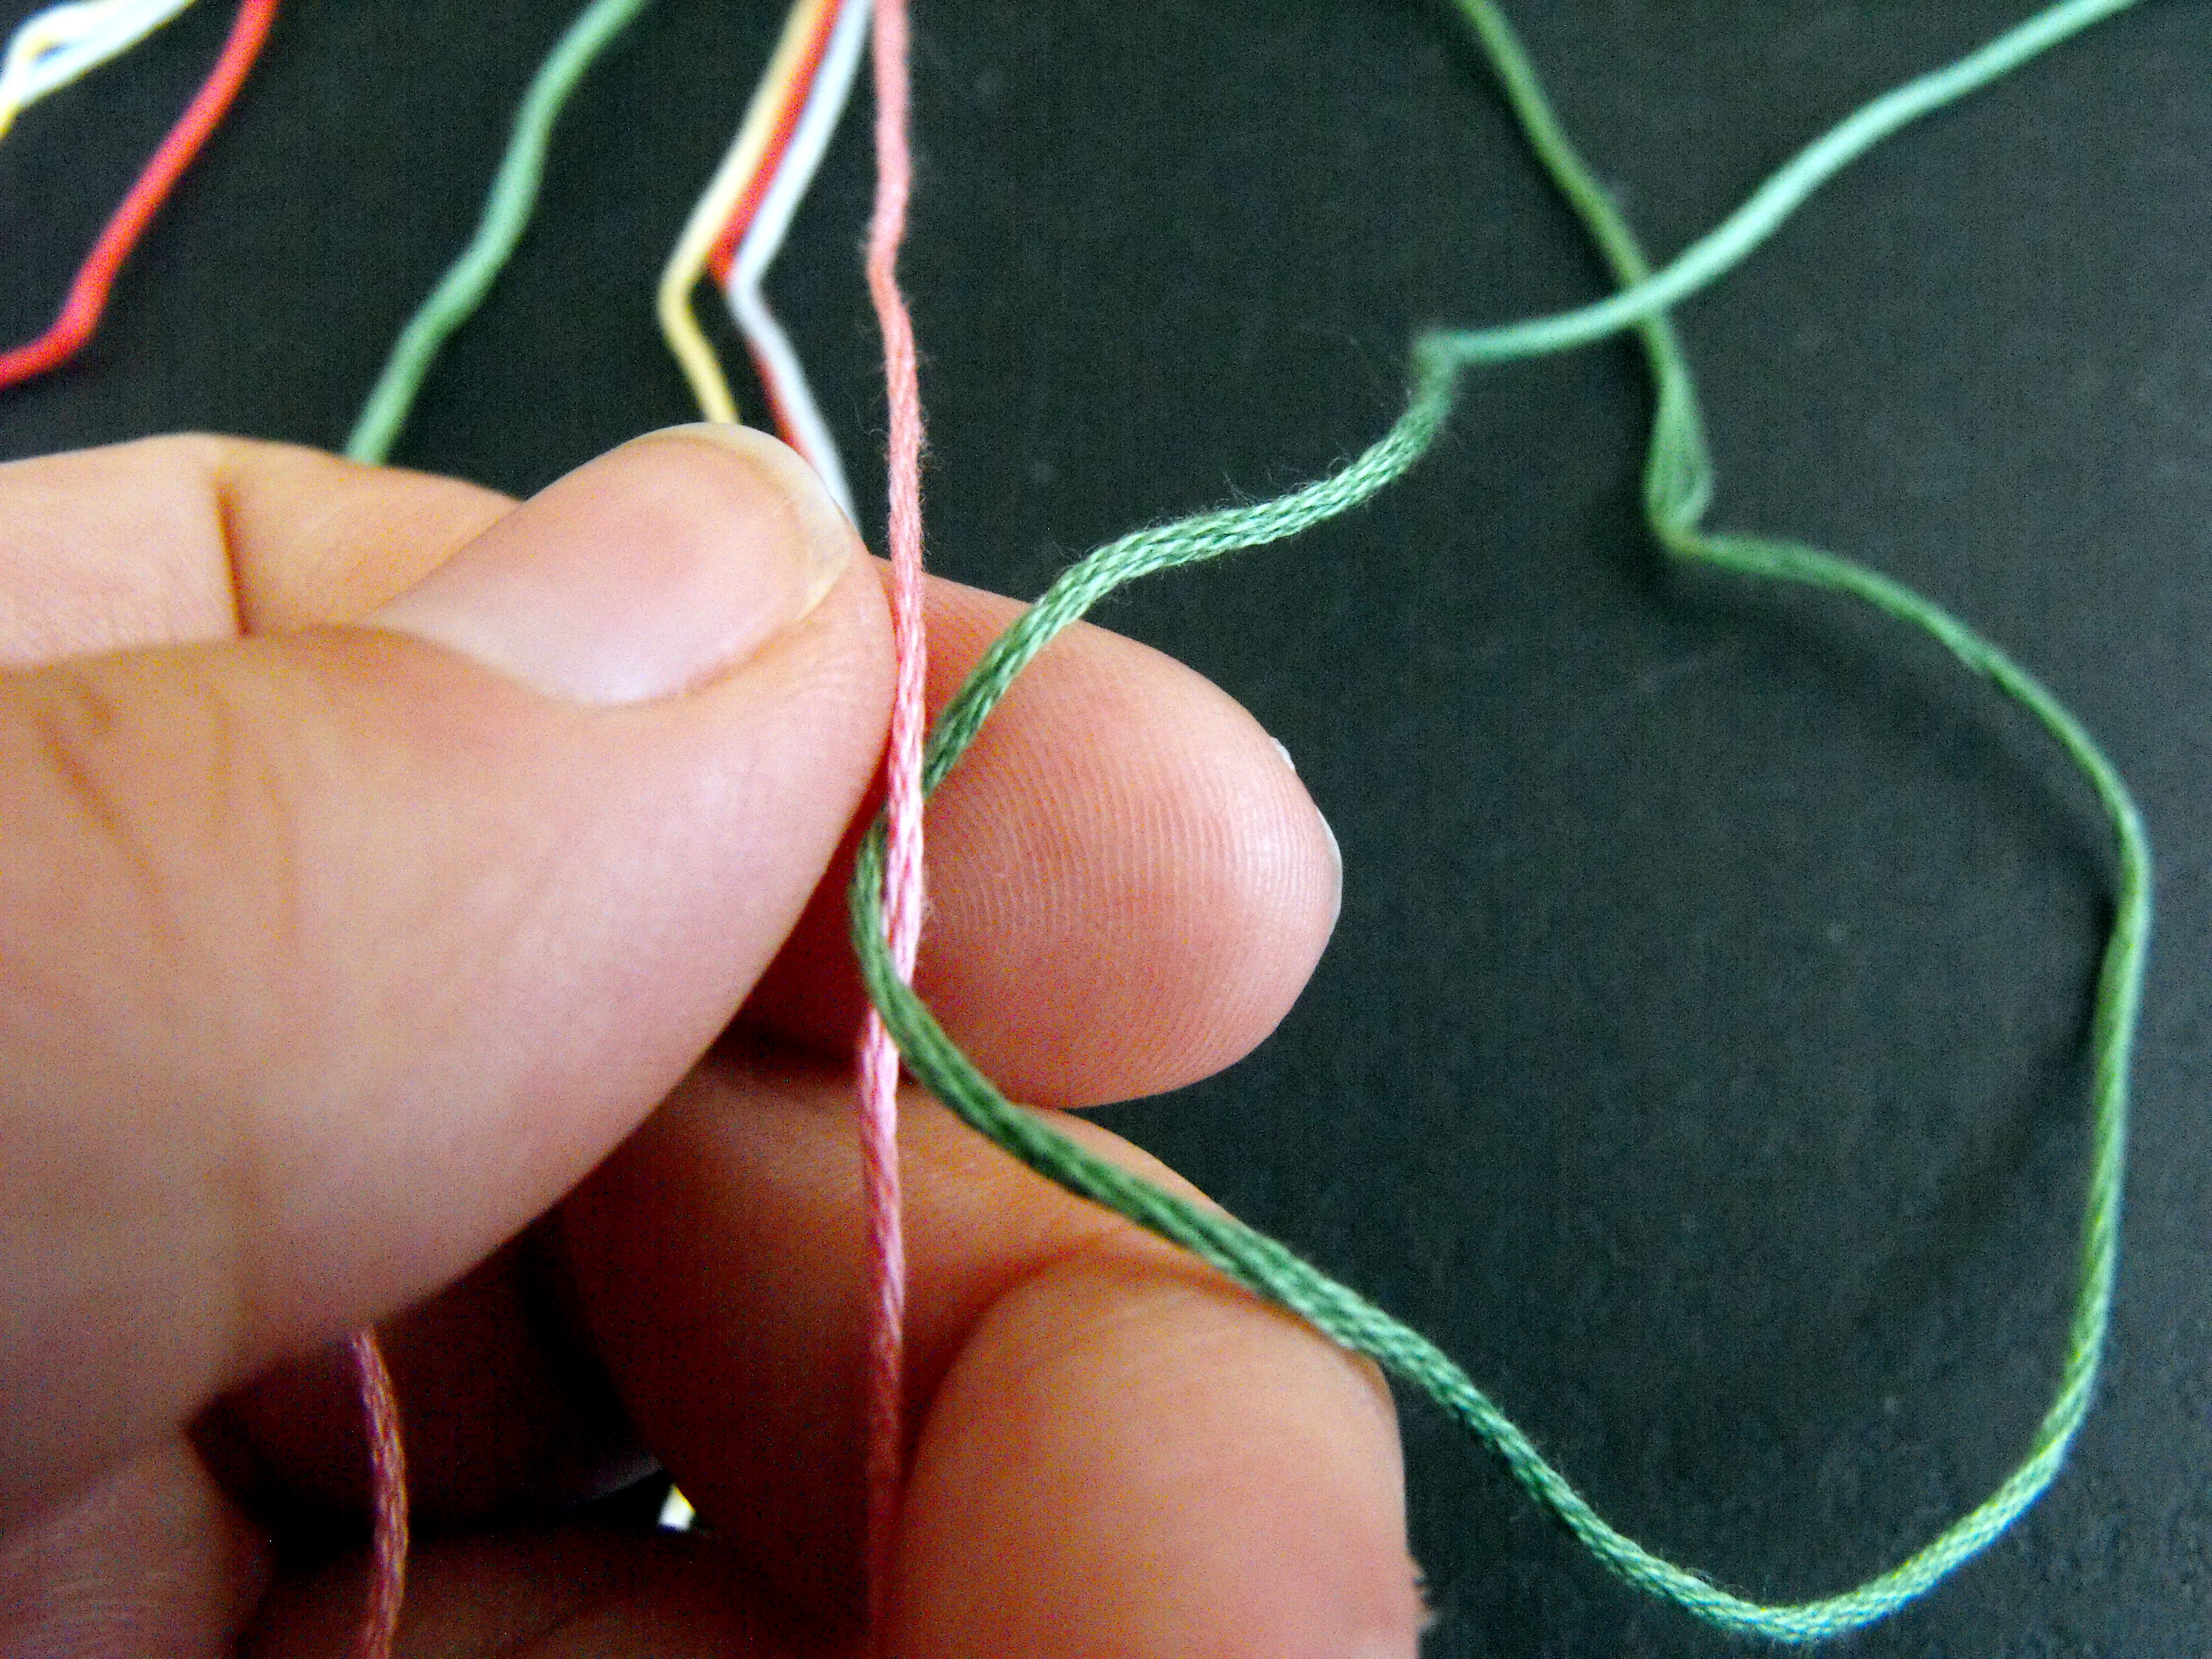
Starting with your first colour on the left side, take the first thread and make this shape with it (often called a "four" or "sailboat")
Tuck the end of the first thread, and wrap it around the second thread and into the centre of the "four"
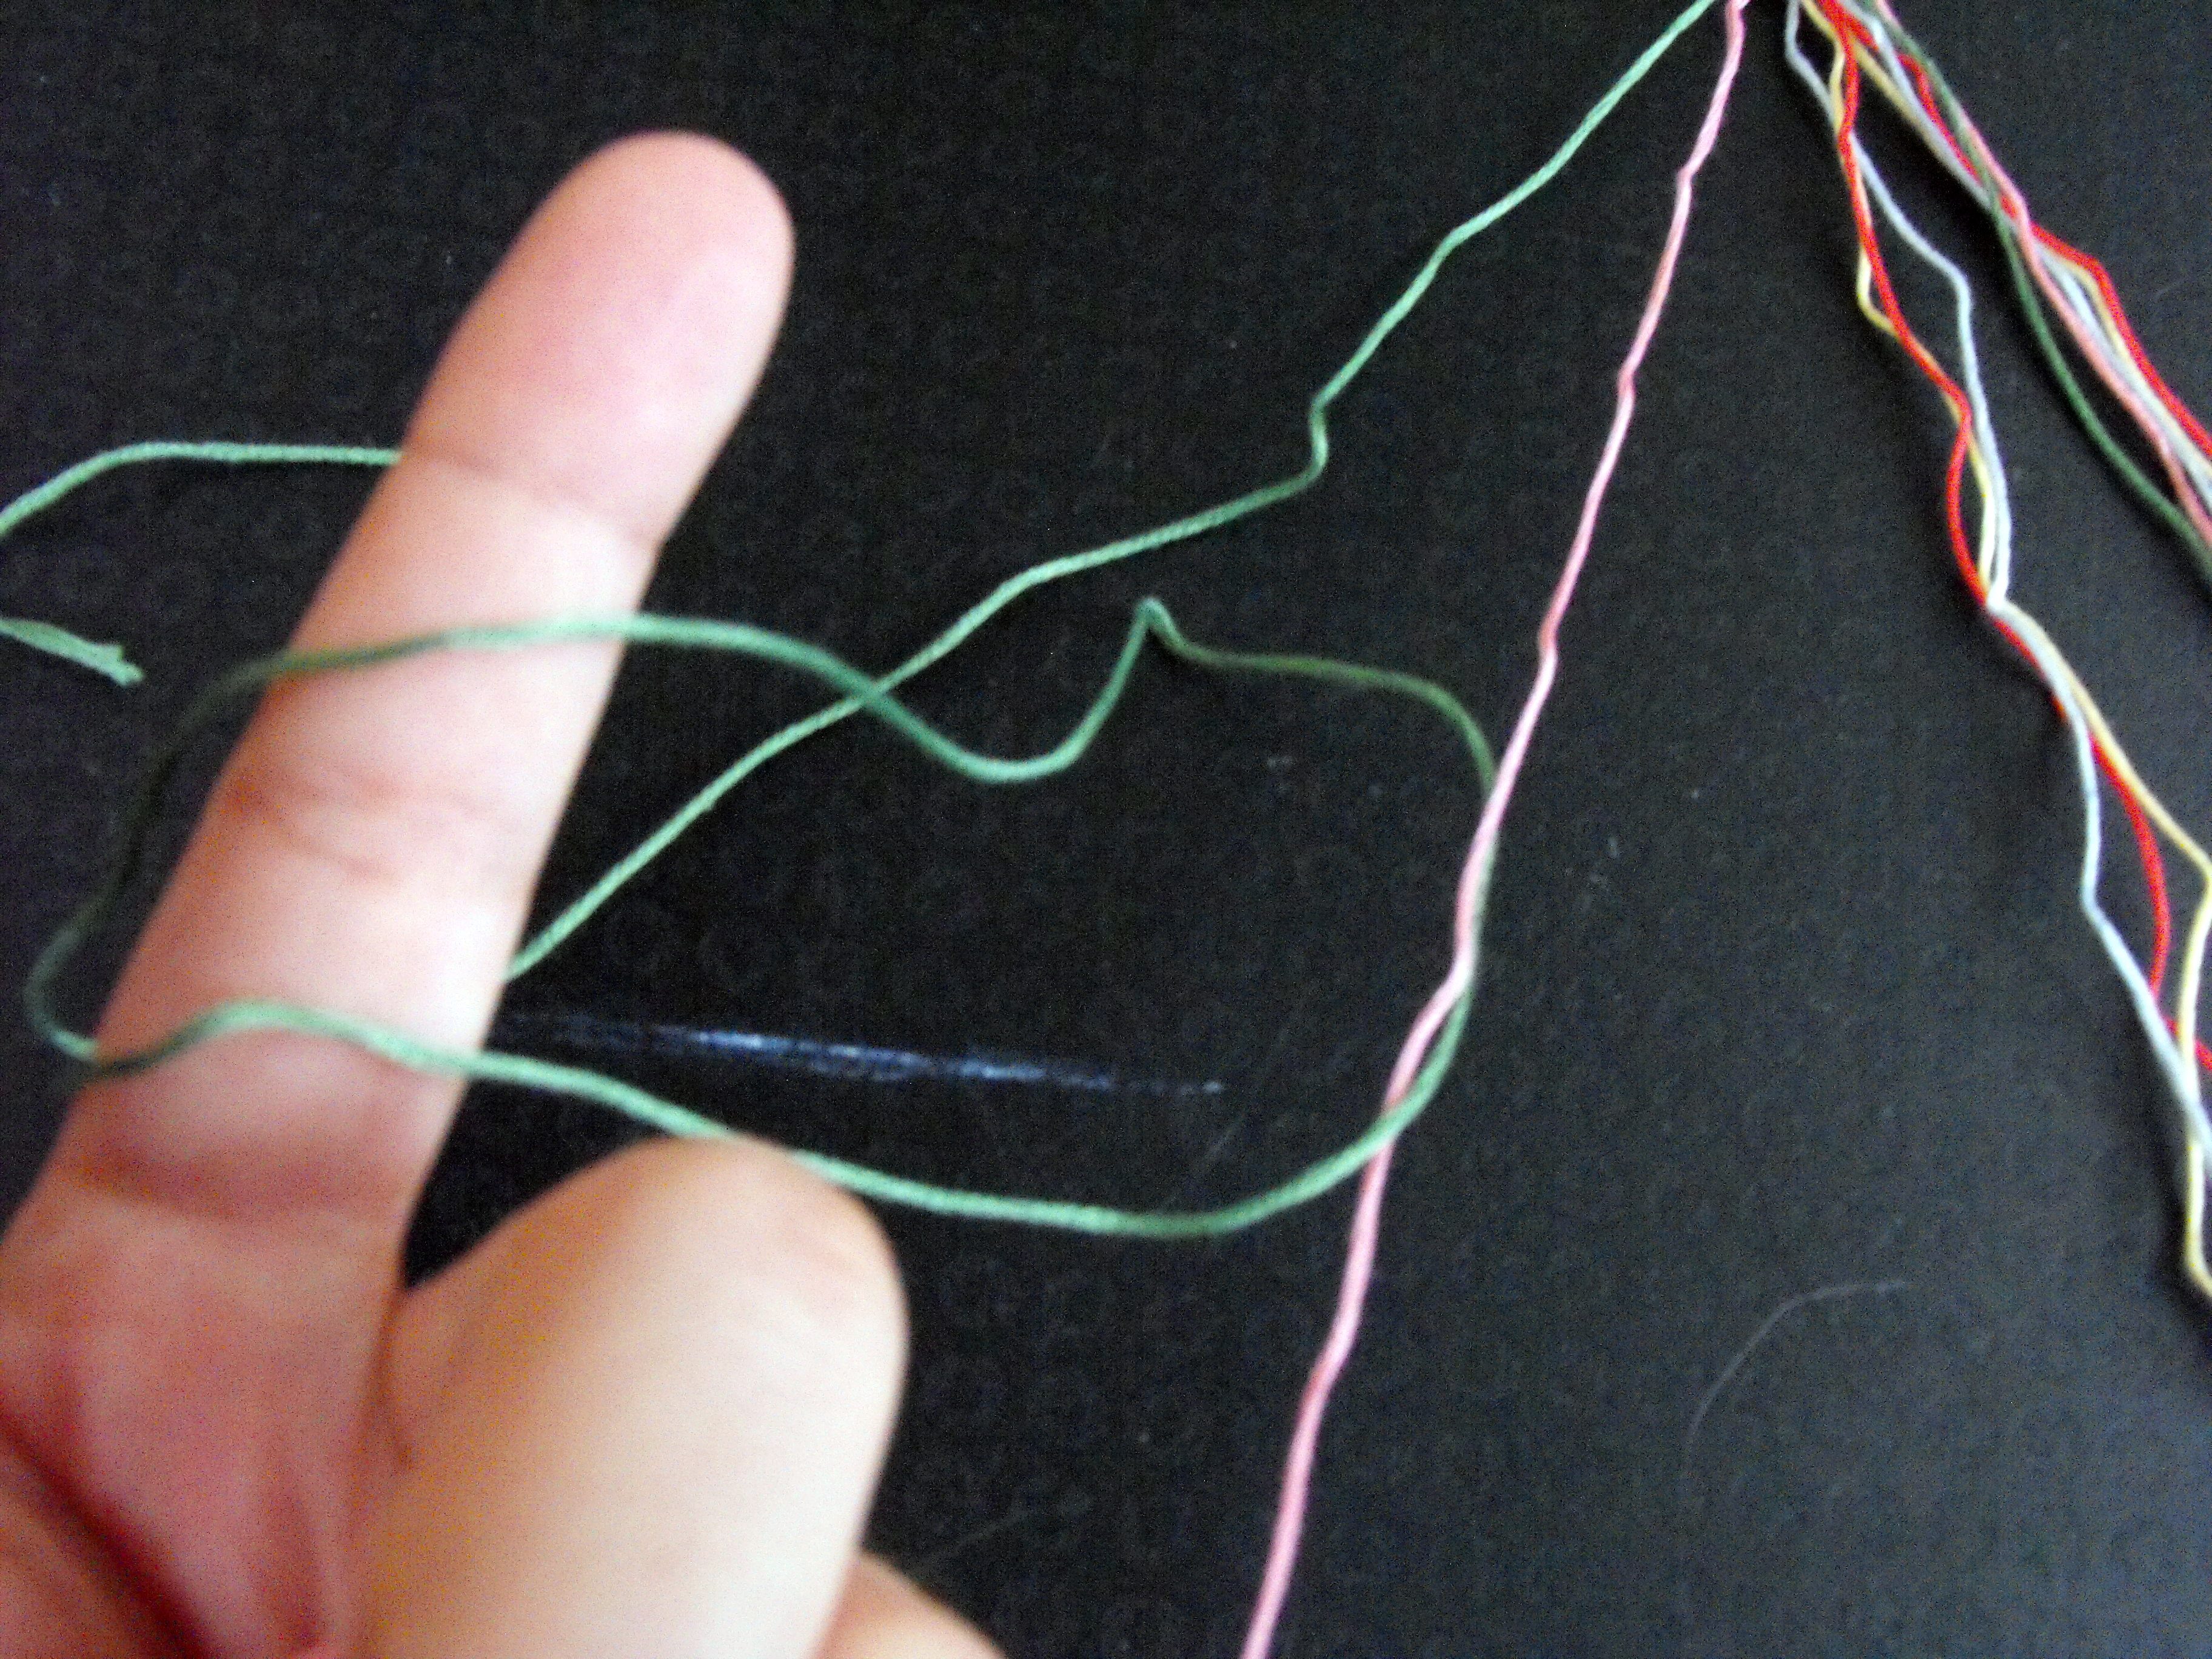
Hold the second thread with your left hand and pull the end of the first thread until the knot is at the top of the bracelet.
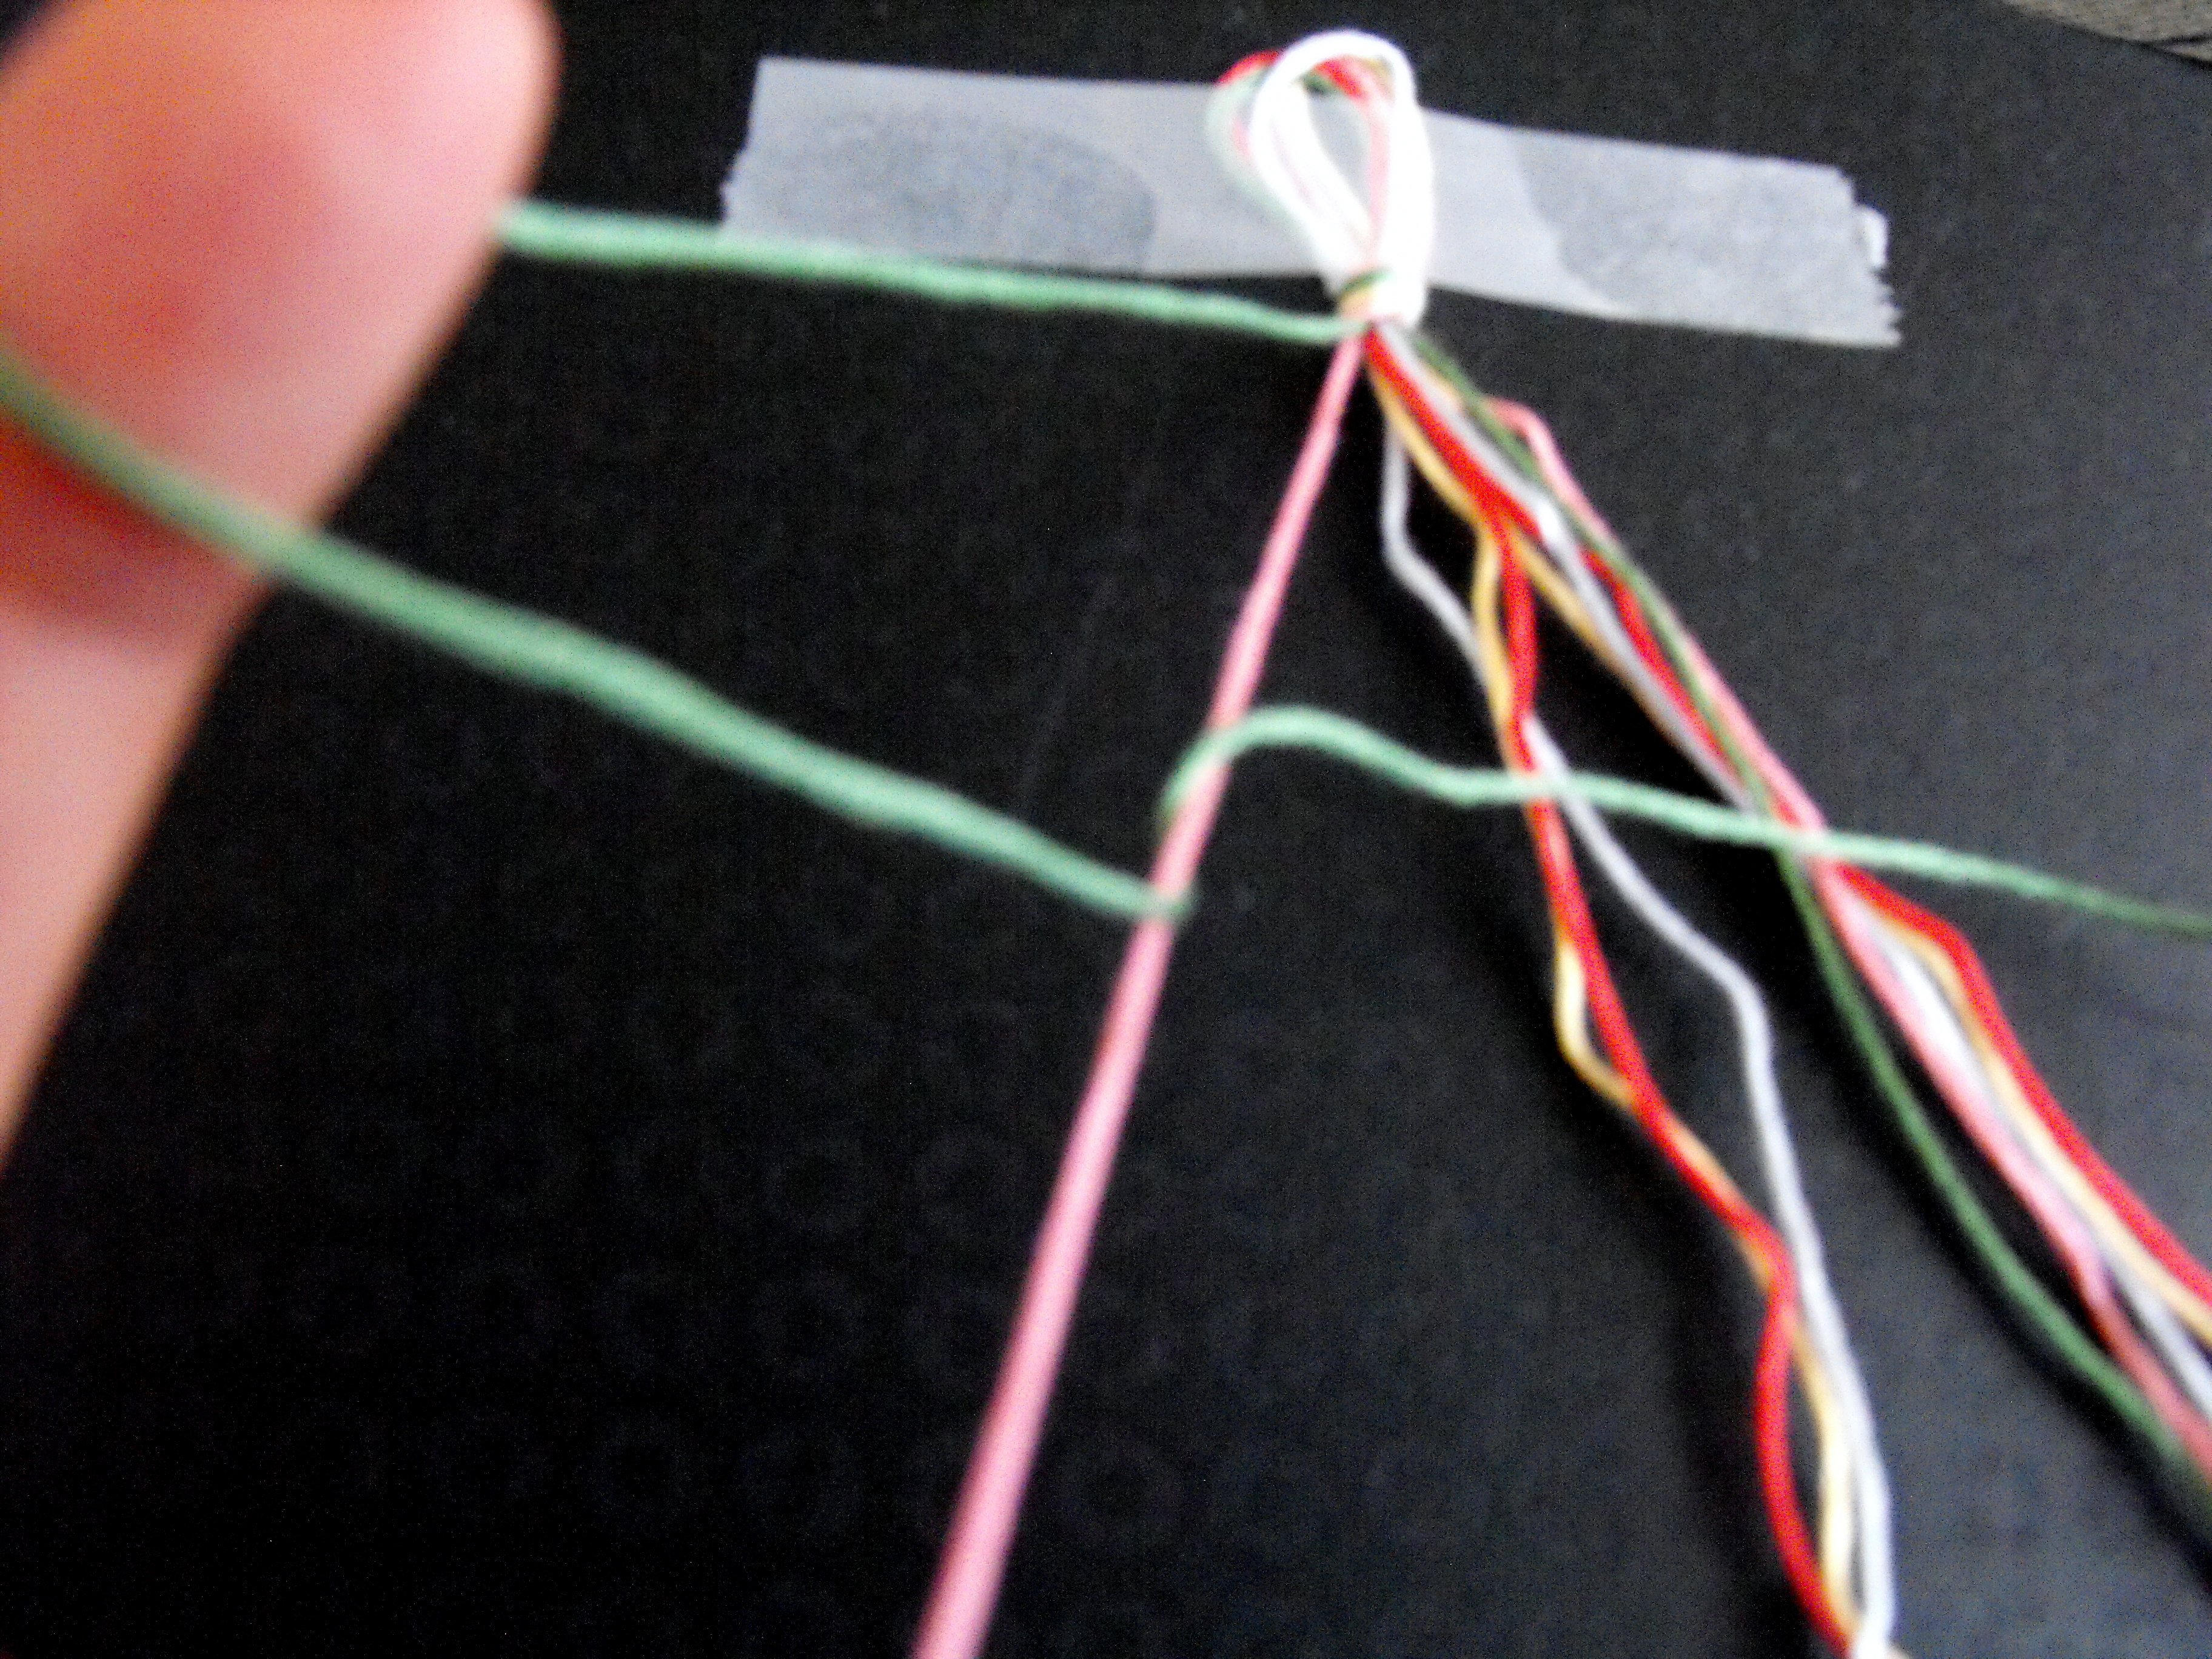
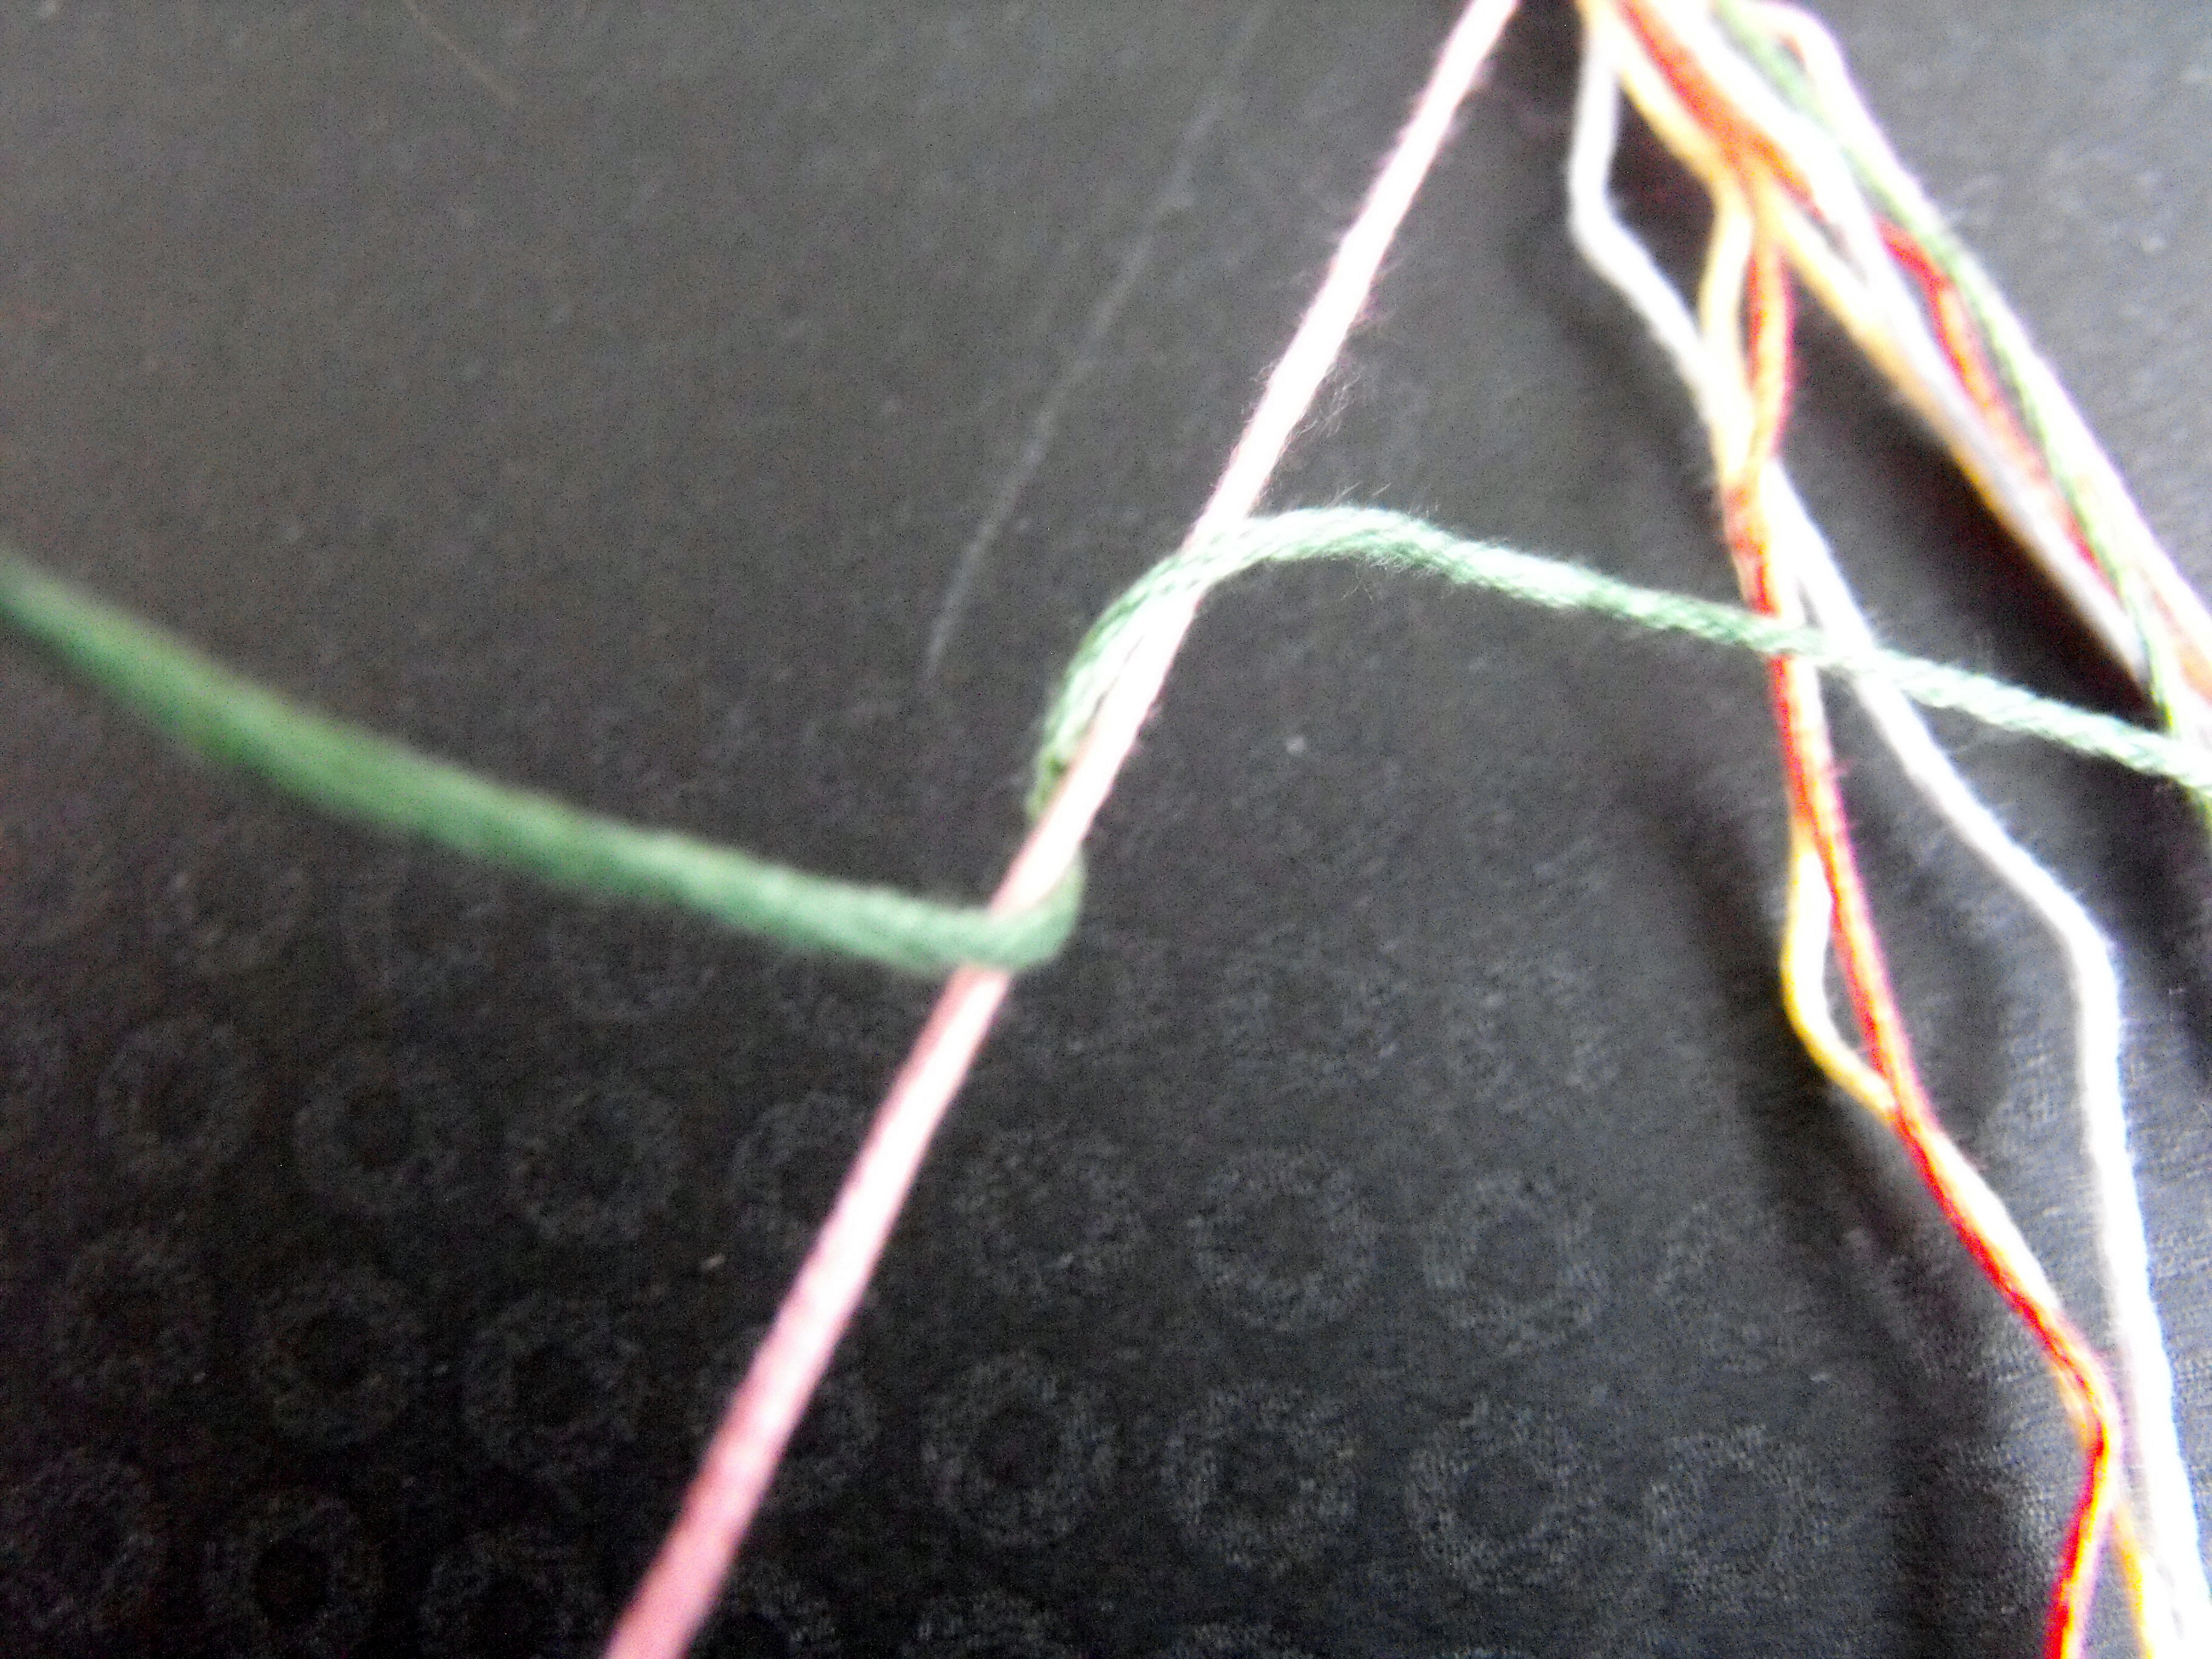
Repeat again using the first threads; you have two knots on the second thread, which will look like this:

Repeat, two knots per thread until you reach the middle of the bracelet ( in this case, after 4 threads total)
 Making the second half of the chevron
Now we're going to make the second part of the chevron.
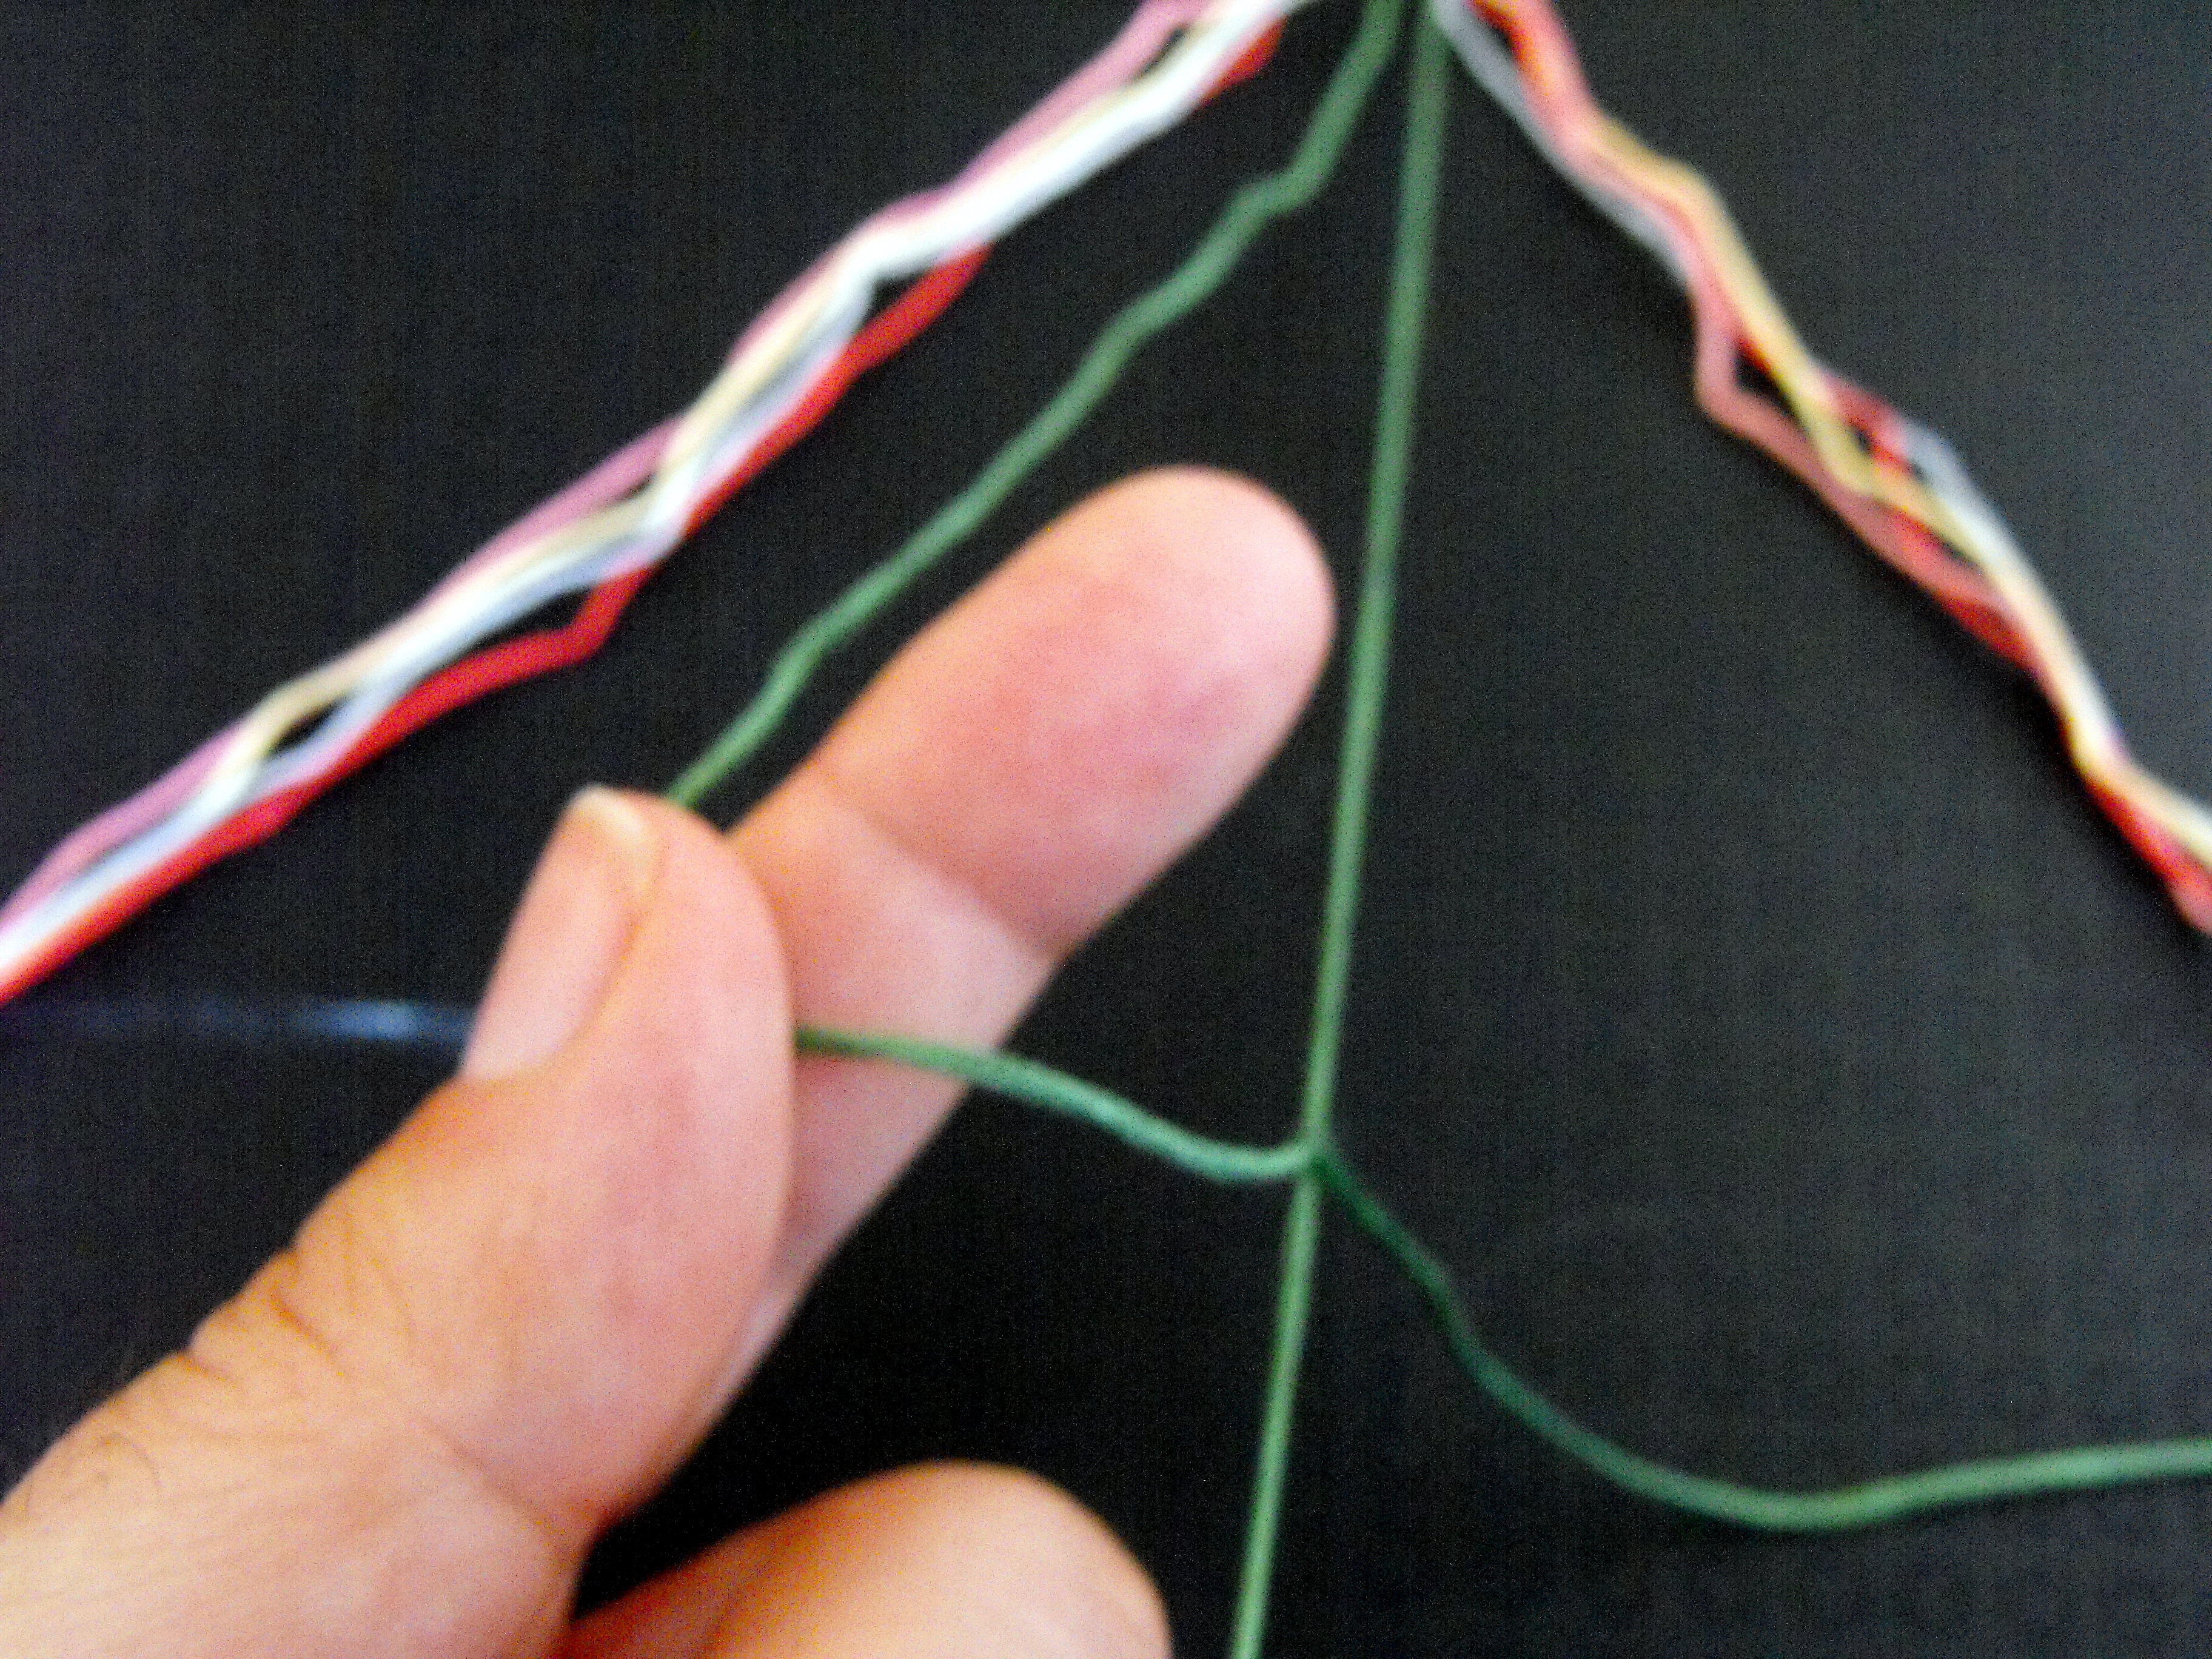
Pick up the last thread on the far right, and make a reverse "four" or "sailboat" with the thread, around the second last thread
Wrap the last thread under the second last thread and holding the second last thread tightly, pull the last thread to the top.
Make one more knot using these two threads, for a total of two.
Continue on, making two knots on each thread until the two threads of the same colour are in the middle
Taking the two middle threads and knot the left thread around the right one, two times.
And voila, you've made your first chevron!
Continue on until you've used each of the colours - this forms your pattern:
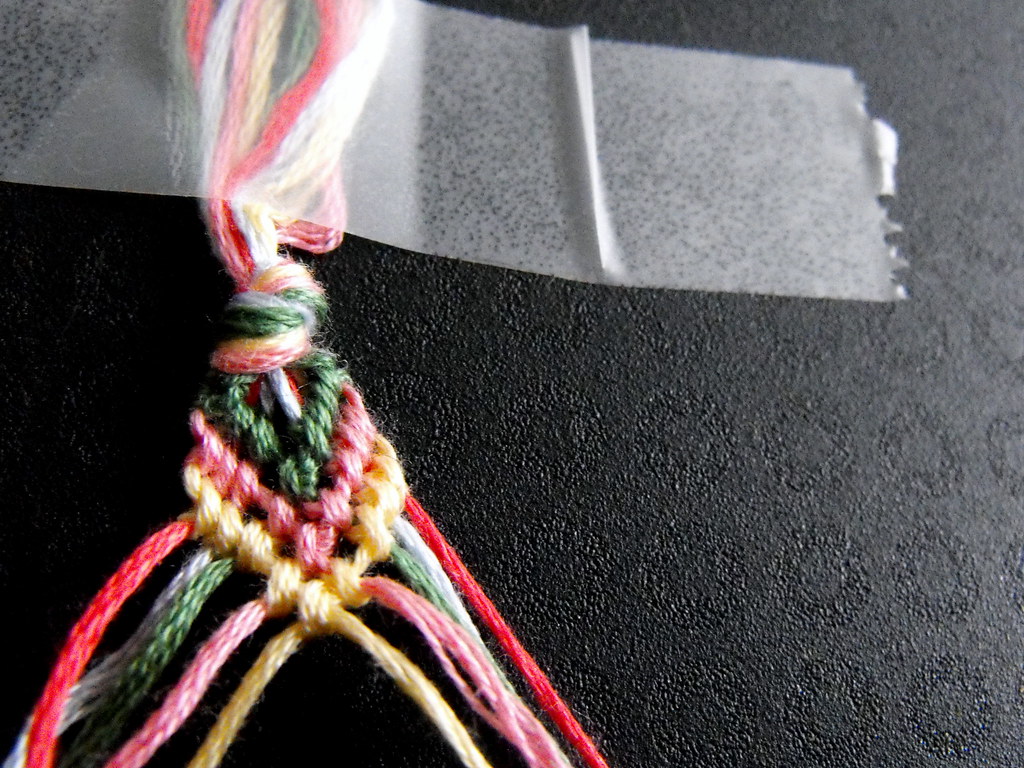
Work until the bracelet is the desired length.
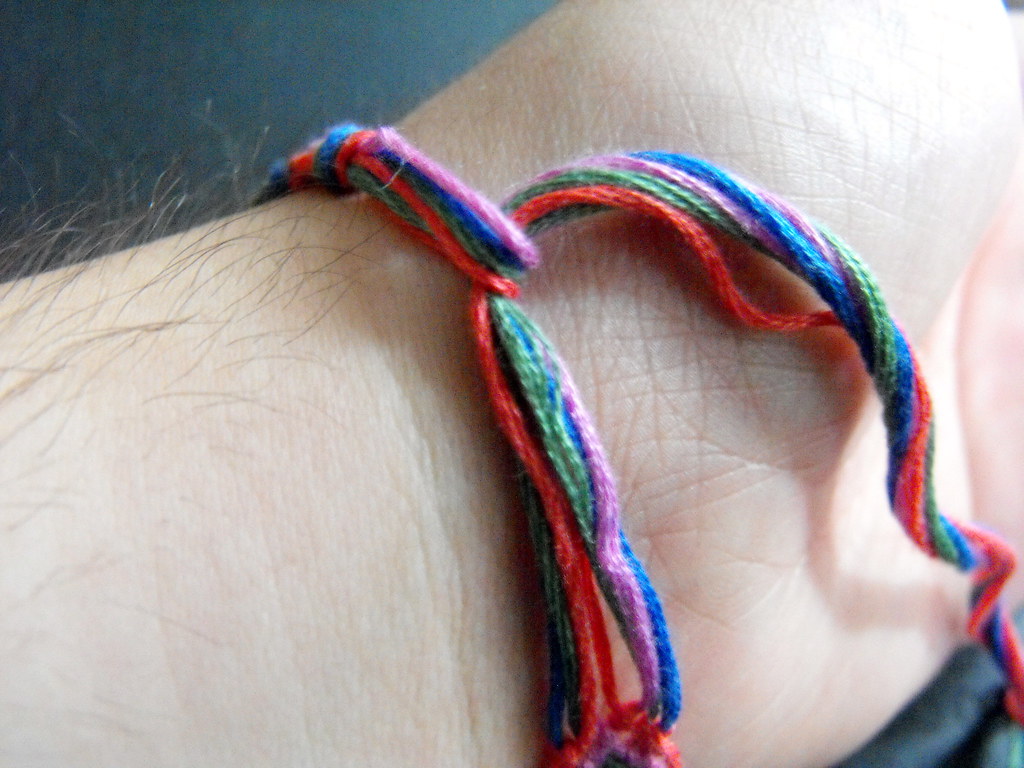
Finishing
You can either leave the ends as they are, and tie the bracelet like this:
or you can braid the ends (four strands of floss per braid), which I think looks nicer
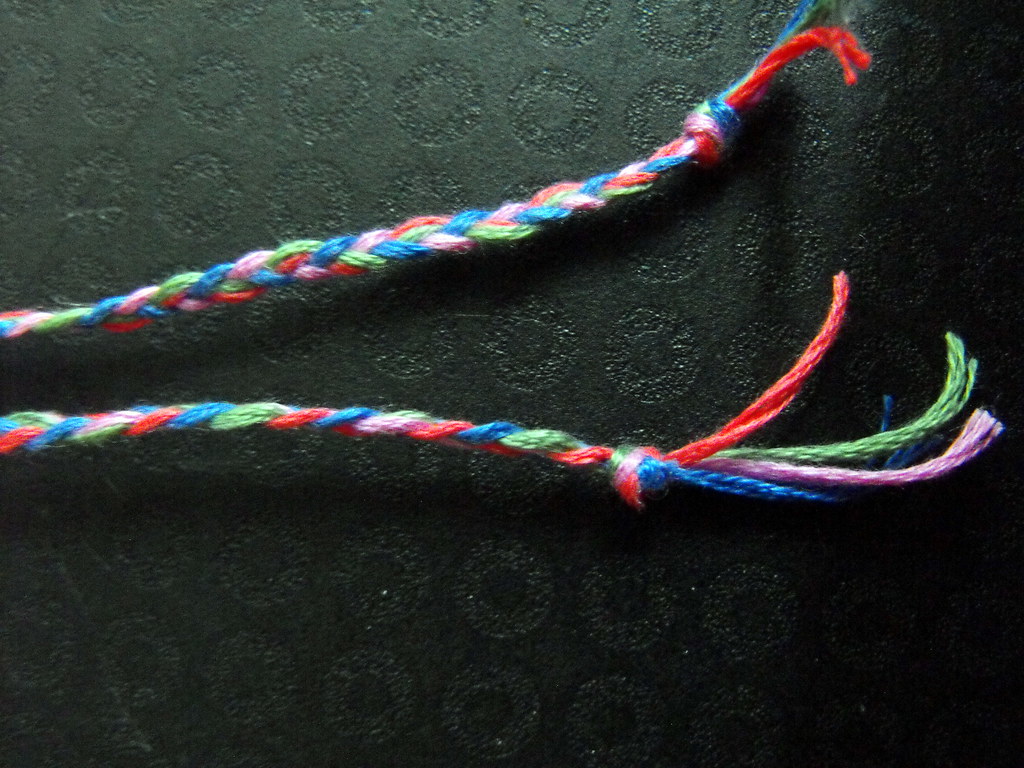
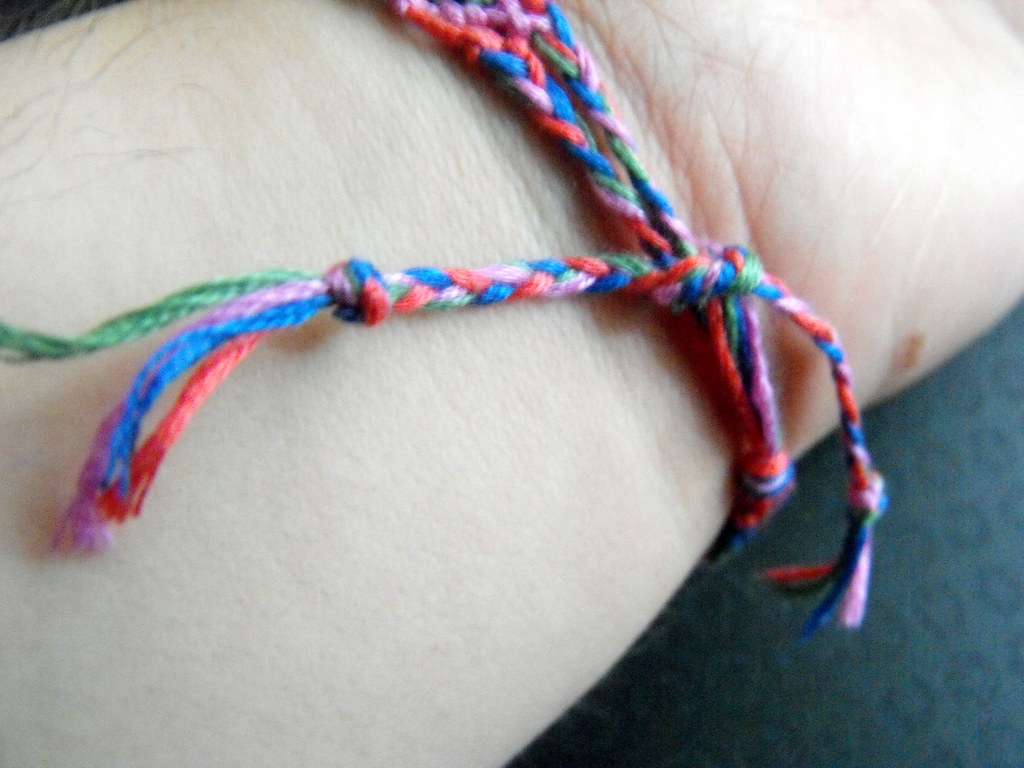
A sadly blurry picture of the finished product

Hope you enjoyed the tutorial! I'd love if you shared any bracelets you make!
♥ Craftzilla


