


Likely for me, this is going to be a combination of paper lists, digital edits of the lists along with a daily photo related to the theme or something like that, but for the purposes of this post, I'm going to share with you the 30 Days of lists scrapbook I put together today to hold my written lists that is inspired by the ones that Kam over on Campfire Kam made.
I'm excited for the chance to work on a bunch of different kinds of lists, to work on a prompt every day throughout September, which may be tricky, but definitely fun and challenging!
I got out all my scrapbooking stuff - unsure why I have so much, as I rarely actually scrapbook, and more use it for making cards and things? Clearly I might as well make more paper-y stuff and use up some of this pretty stuff!
Materials used:
Wooden boards from the art supply store (6 1/2 x 6 1/2 inches)
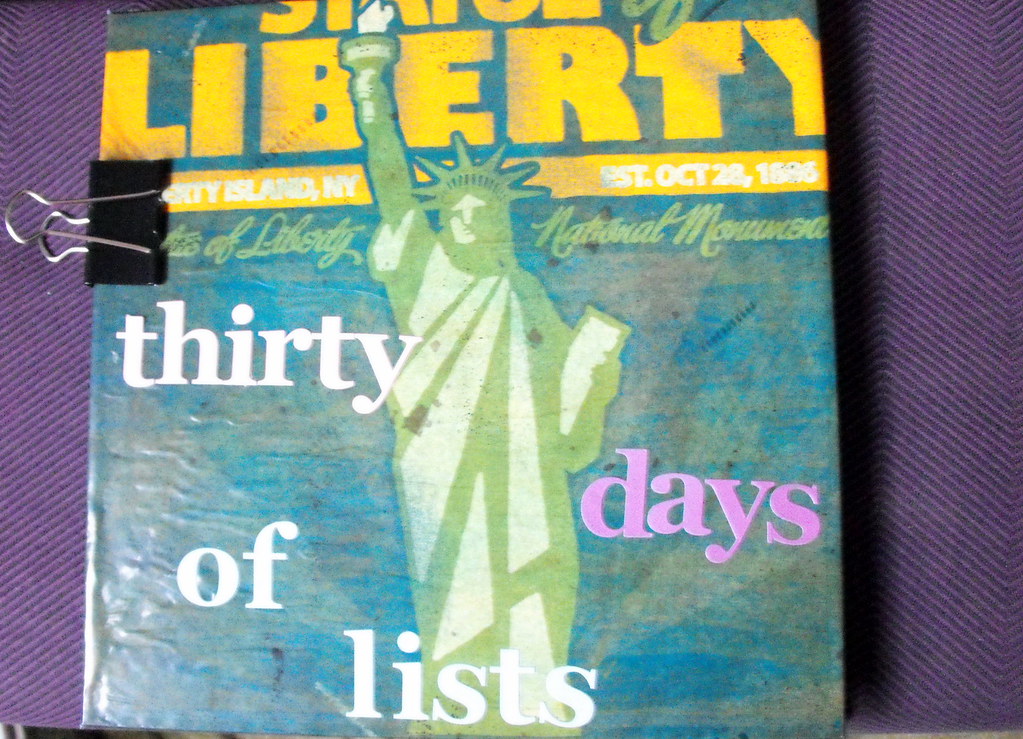
An old Calendar for the pictures on the covers
Scrapbook paper
pages from a gel pen notebook
Alphabet stickers
Glue
Bulldog clip
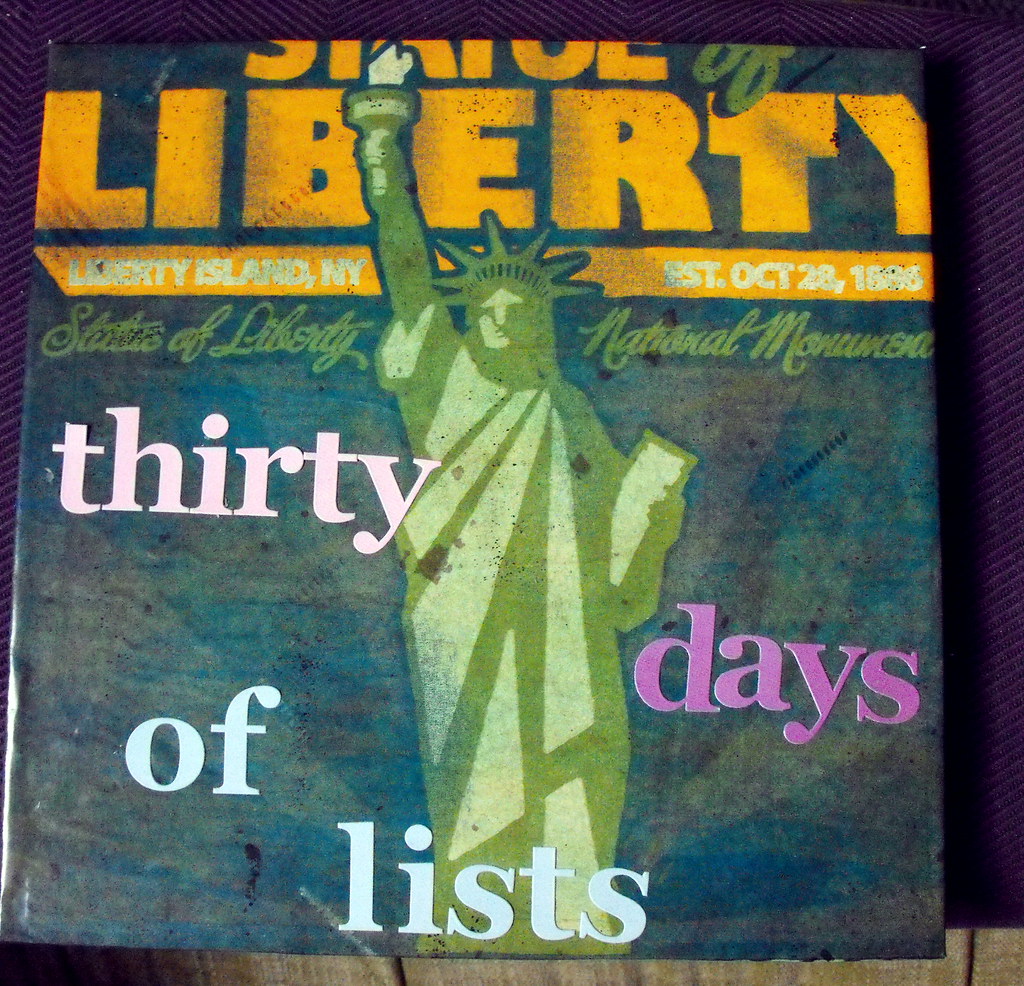
Here's my fancy cover
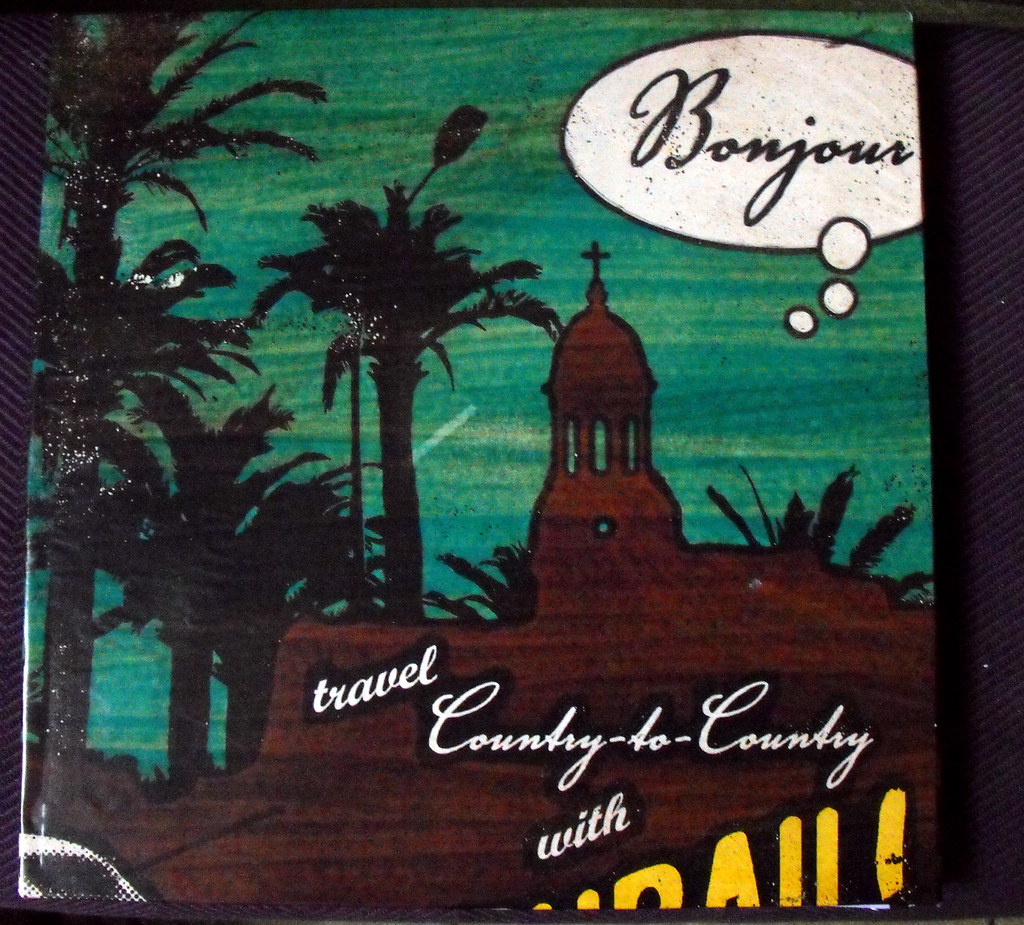
Back Cover
Inside front cover/first page
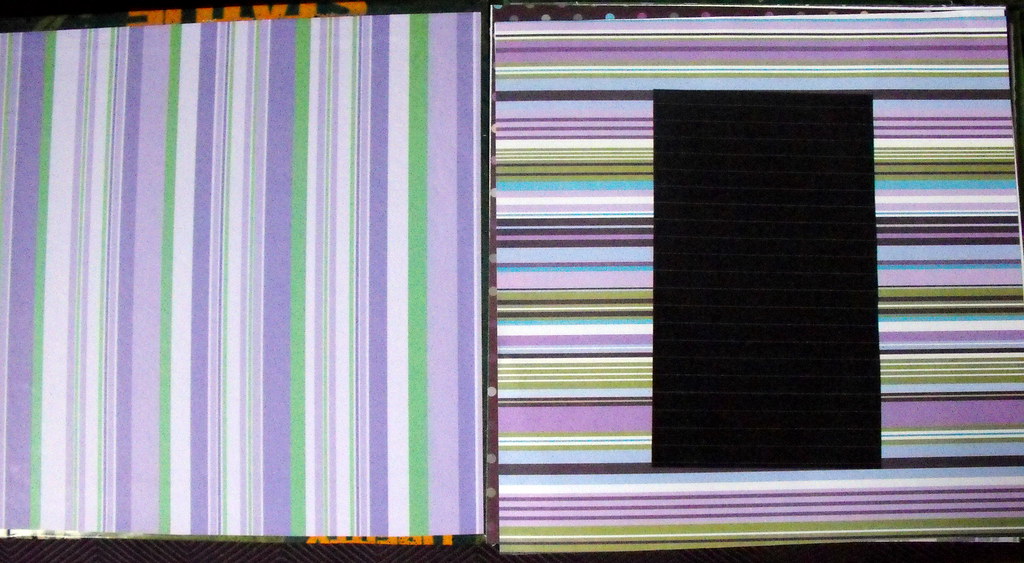
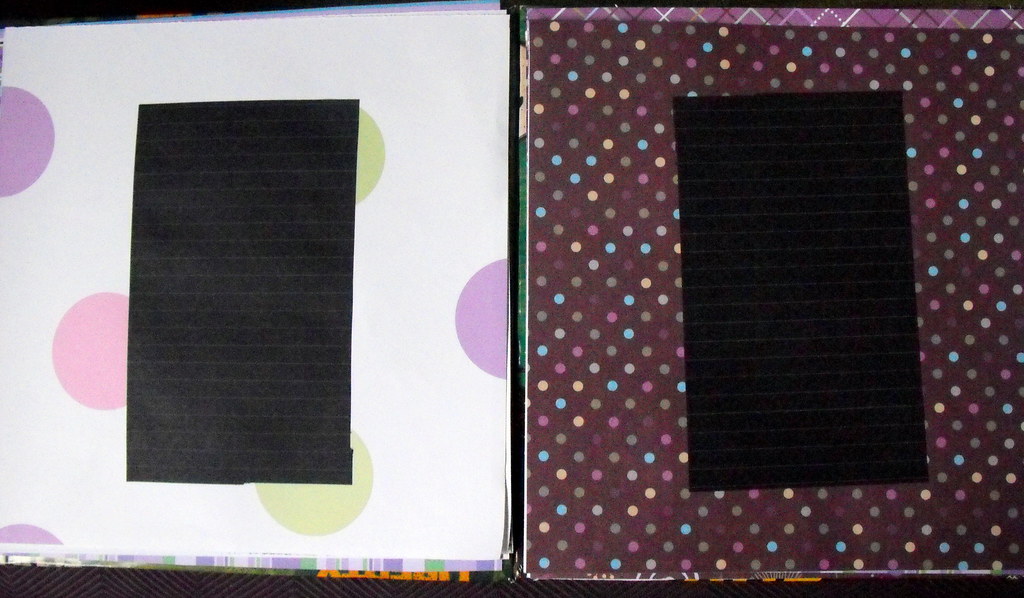
Here are a few of my favourite pages --the colour scheme is mostly purple and brown, but definitely multi-coloured!
At the moment, it's just held together with a bulldog clip, but I'm hoping to get around to doing something better with the binding of this soon, even if it's just to drill a few holes in the cover to add binder clips to hold it together or something like that. If you have any other ideas, please pass them on!

I like the pages you've made for your lists book.
ReplyDeleteI've signed up too - I've got to make my list book yet.
I usually use this book binding when I'm making books
http://en.wikibooks.org/wiki/Bookbinding/Japanese_side_stitch
Its really simple to do and gives a little bit of decoration too!
@Louise
ReplyDeleteThanks for the nice comments:)
I'll have a look at the tutorial and see if it's do-able --I've a little bit limited my options on binding my using a wooden square for the covers, but may feel adventurous and drill some holes (that hopefully won't wreck the cover too much). Better planning for me next time!
Looking forward to seeing what you'll make :)
Gillian
this looks fantastic! i'm inspired to make me a cool notebook instead of just using the one I bought!
ReplyDelete@Manda Jane
ReplyDeleteThanks lady! Make sure you share! Glad to have inspired you:)
Gillian
This is so much fun! I love the front cover especially!
ReplyDelete@Nora Anne
ReplyDeleteThanks So much Nora Anne:) I'm pleased with it too, and I enjoy how the font of my sticker letters goes with the statue of liberty so well (in my opinion anyways!
Gillian