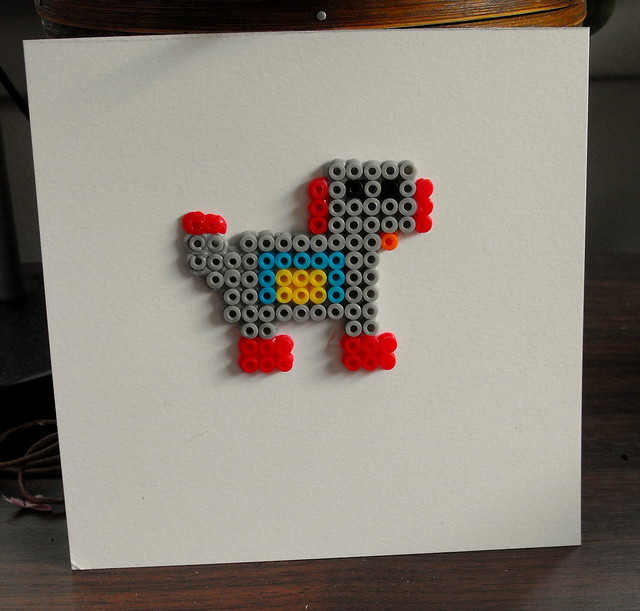
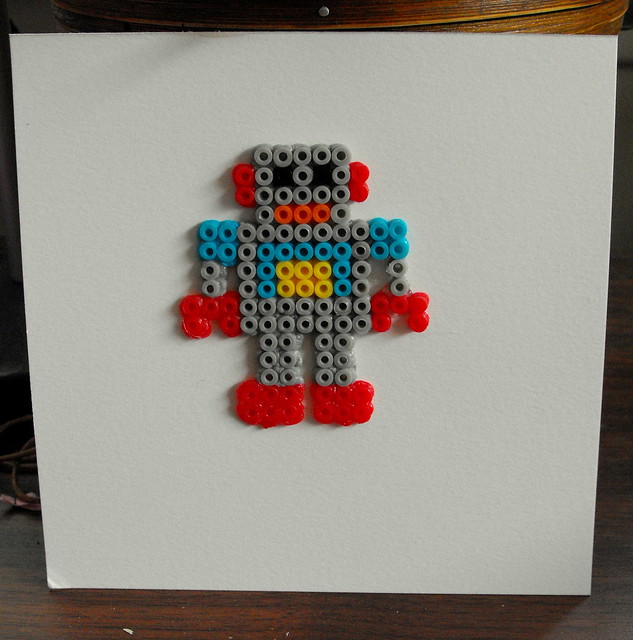
Here are the beads ready to be fused with the iron. I tried to design my robot dog one to mimic the robot pattern fairly closely, how do you think I did?

Here they are after being ironed and mounted onto heavy cardstock with my trusty gluegun.

Just a note that I only ironed one side of these (the back) since I felt the beads had a pixel-y sort of look that I enjoyed, and they were being glued to cardstock anyway. Generally you're supposed to iron both sides.

Strangely enough, I think this was actually a craft that I've never done before in it's entirety before, and ran into some trouble with the ironing (didn't iron long enough) but I think I'll be making some more in the future -in particular a robot me to add to the collection!
I think I'll also add some nomeclature labels underneath in fancy writing before I frame them, but overall, Zen was very pleased with these! If you want to make your own, here's what you need:
-Perler beads peg board
-Perler beads
-wax paper (to place over the beads while ironing)
-Iron
-Paper (I used 6 x 6" Sthrathmore Bristol vellum, which is basically just an acid-free, heavier cardstock with a nice finish)
-Glue gun
You can also find some information on Perler beads and a cool looking application I might try to make your own designs from photos on the Perler beads website.
Happy crafting!
♥ Craftzilla


No comments:
Post a Comment
Thanks for the comment love! I love to hear from you and I hope you come back to visit often. I'd love it if you left me a link to your blog so I can visit you back!